Prescribers
In the Prescriber's section, you can view, edit, and manage all prescriber records in the system. This includes viewing prescriptions related to the prescriber, managing prescriber licenses, and other administrative tasks.
 The Prescribers page allows you to view, edit, or add prescriber profiles to the software. Prescriber profiles include details such as the prescriber name, contact information, and relevant licensing information.
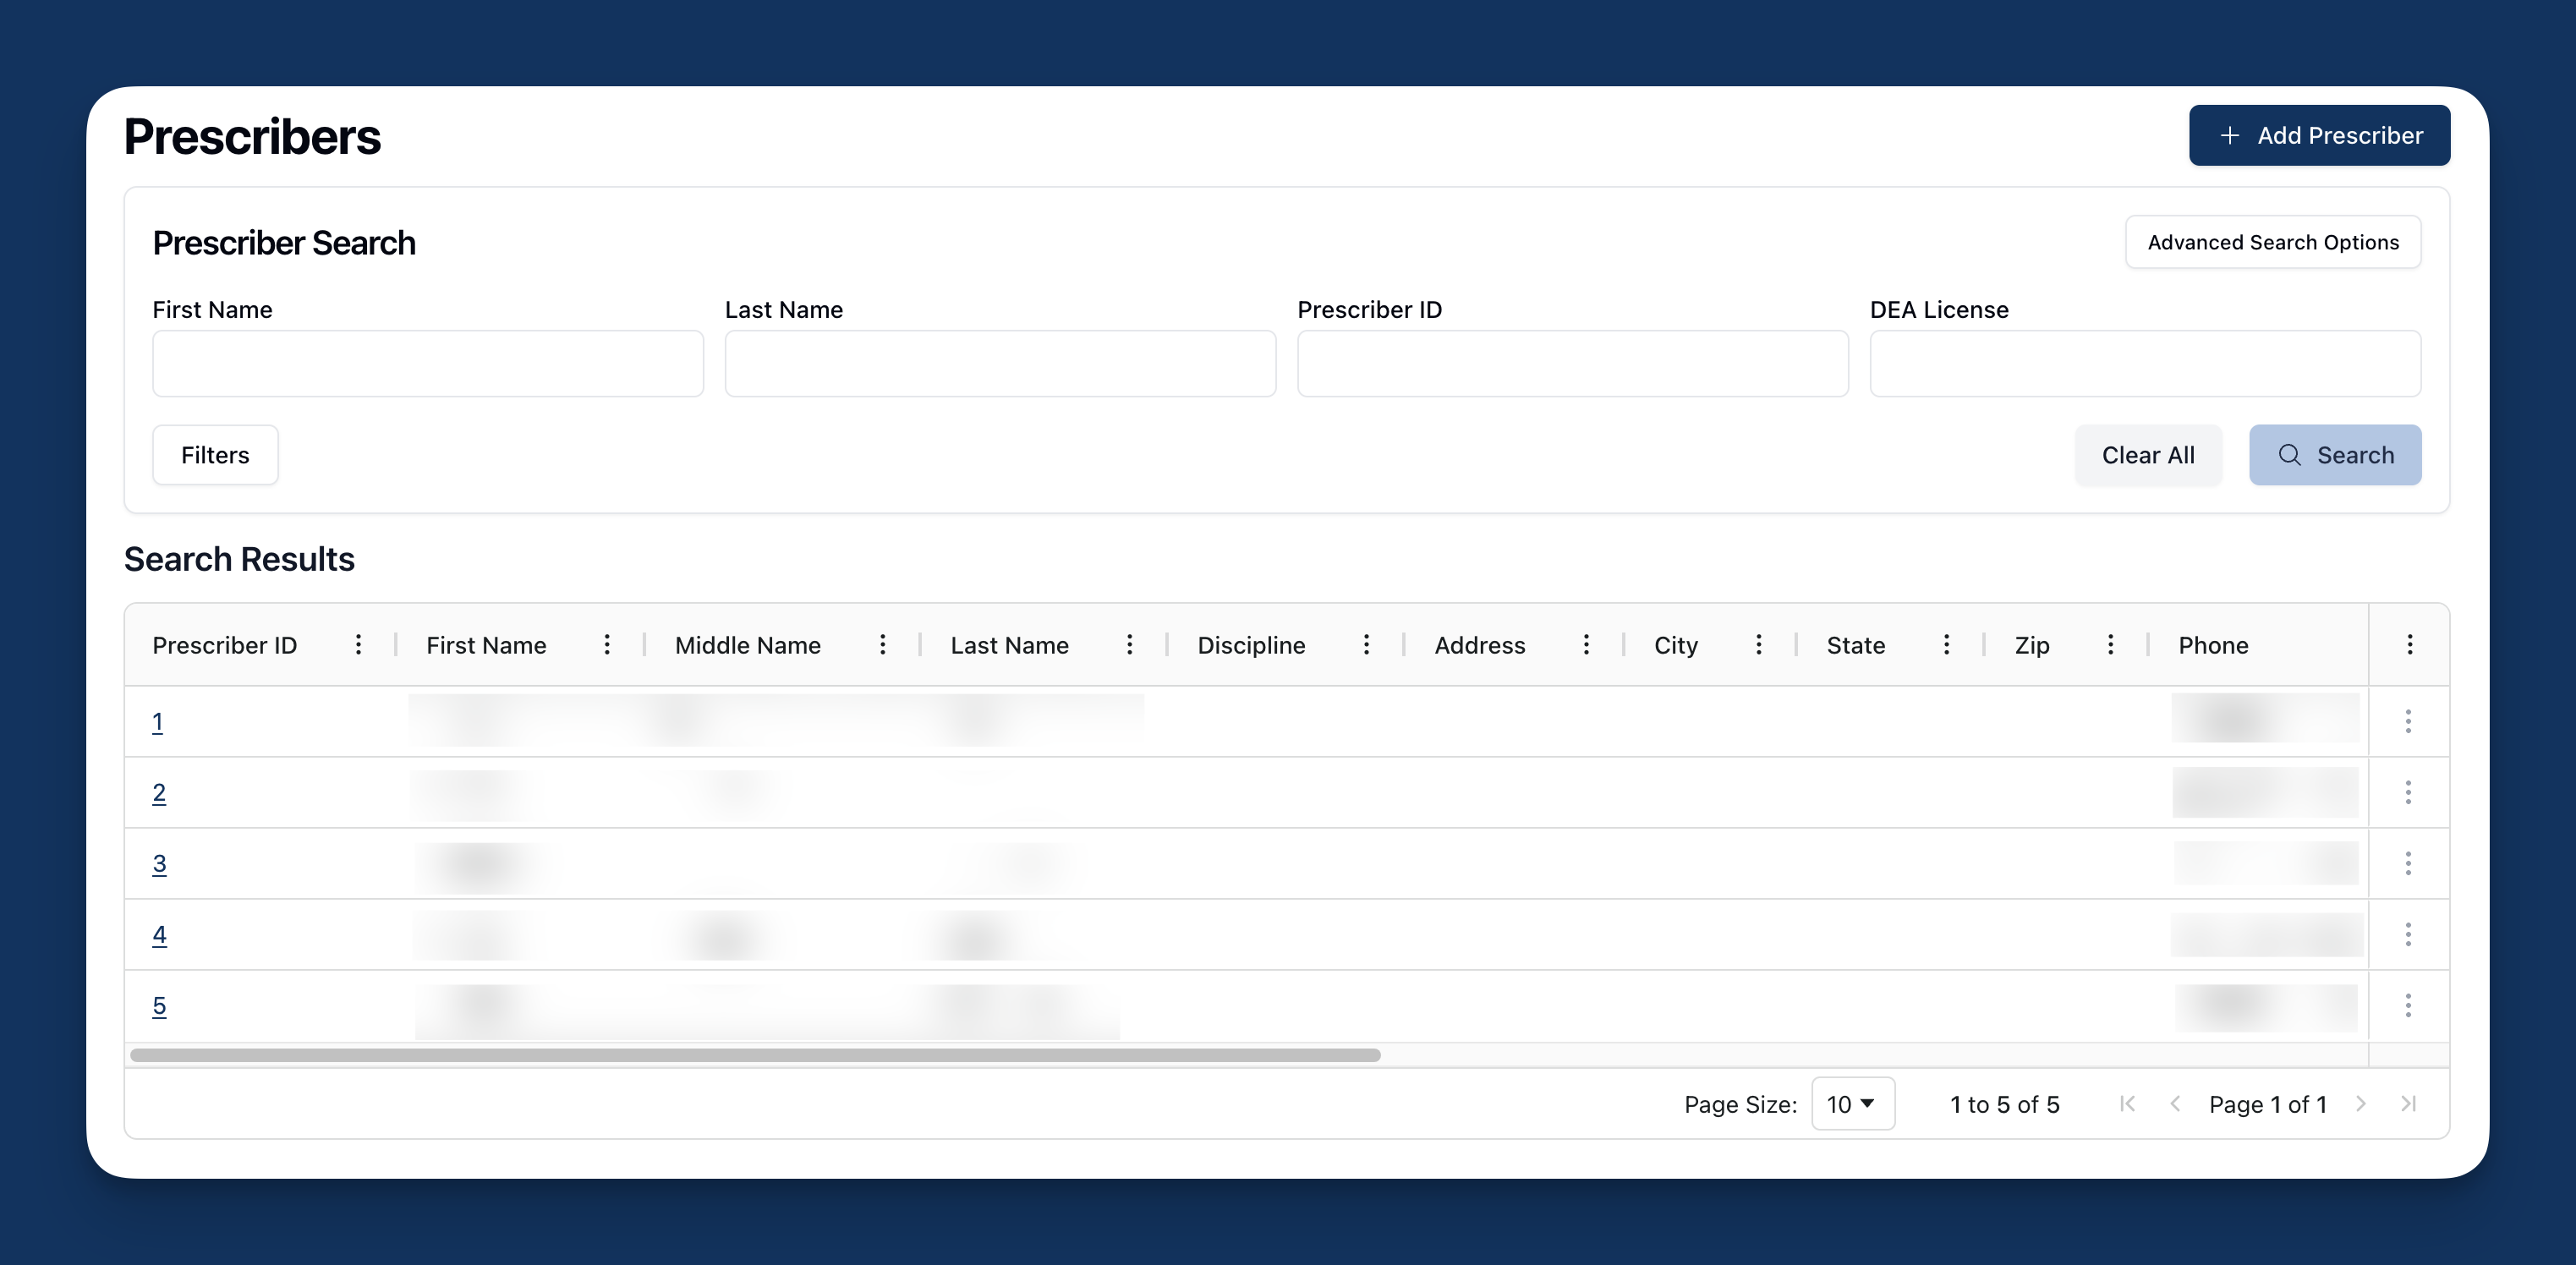
When navigating to Prescribers from the sidebar, a search form appears at the top of the page, followed by a table listing all prescribers in the database.
Prescriber Search
 Under Prescriber Search, you can search for a prescriber by name, prescriber ID number, or DEA license number, using the basic search fields.
 Under Advanced Search Options, you can also search for a provider by their NPI number, their specialty, discipline, phone number, or state of practice. To include both active and inactive prescribers, toggle on the option to Include Deactivated Prescribers.
 If you'd like to view only deactivated prescribers, you can do so by clicking on the Filters button and selecting Show Deactivated Prescribers.
Once you've added the relevant search terms, click the Search button to filter the prescribers listed in the Search Results below.
Search Results
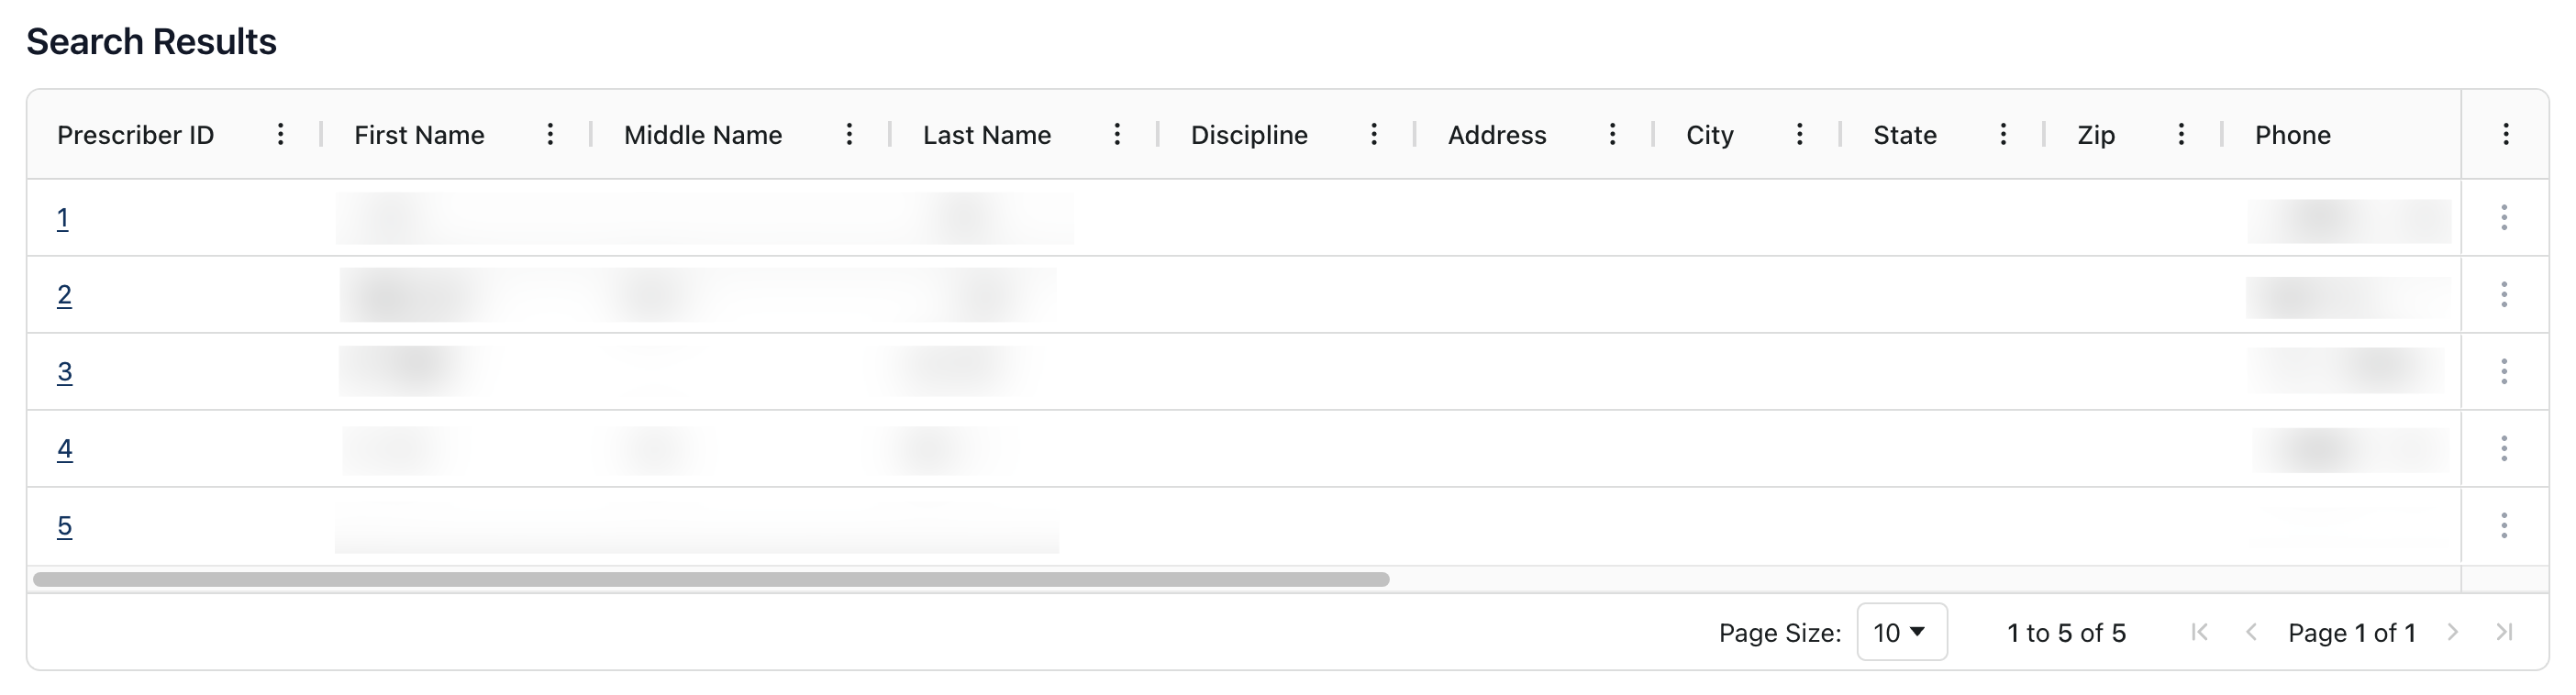 By default, the Search Results lists prescriber records in order of prescriber ID. Search results include the following information, sorted into columns:
Prescriber ID | The ID number assigned to the prescriber, automatically generated by the system. |
First Name | The prescriber's first name. |
Middle Name | The prescriber's middle name, if known. |
Last Name | The prescriber's last name. |
Discipline | The prescriber's discipline, selected from a dropdown list. |
Address | The prescriber's main practicing address. |
City / State / ZIP | The city, state, and zip code for the prescriber's main address. |
Phone | The prescriber's phone number. |
Organization | The company or organization with which the prescriber is affiliated. |
Specialty | The prescriber's specialty or area of practice, selected from a dropdown list. |
DEA License | The prescriber's DEA license number. |
NPI | The prescriber's NPI number. |
Location | The location in which the prescriber works, such as the Radiology Department. |
You can sort the prescriber list and search results by clicking on the three dots ( ⠇) to the right of each column title. For more information on ways in which you can customize the table view and sorting options, visit Table Options and Sorting.
Viewing the prescriber record
 To visit a prescriber record, click the underlined prescriber ID number from the search results table.
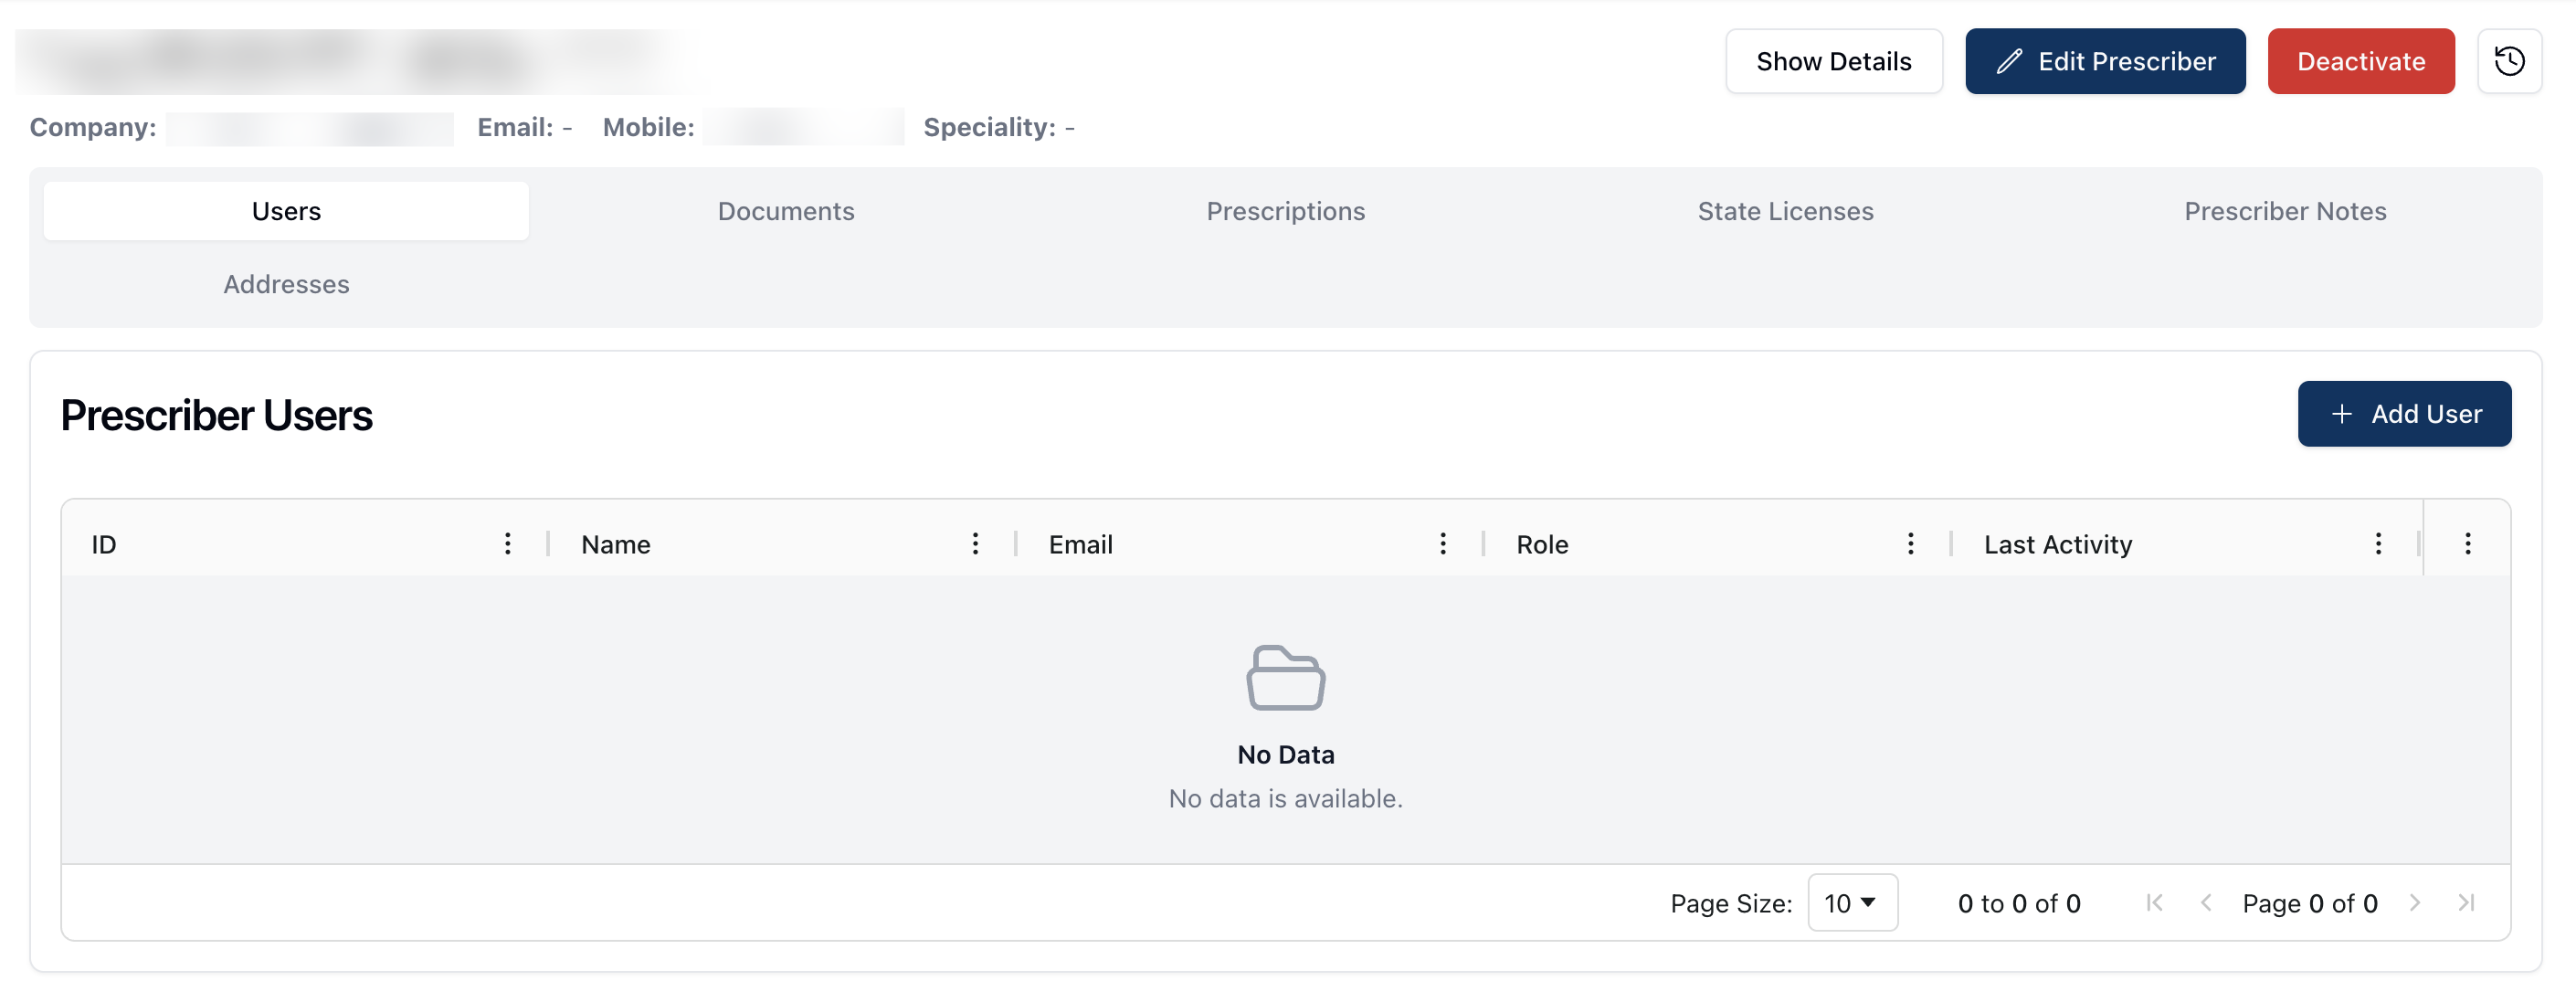
The prescriber record displays the prescriber's basic information, including their name, company, email address, phone number, and specialty. To the right of their basic information, you can find the Show Details, Edit Prescriber, Deactivate, and Activity Log buttons.
Below the prescriber's basic information are a series of tabs. You can navigate to each of these tabs to view, edit, or manage various parts of the prescriber record. By default, the prescriber record opens to the Users tab, displaying all users related to this prescriber.
Show Details
 The Show Details button on the prescriber record displays additional information about the related prescriber. Clicking Show Details reveals the following:
Prescriber ID | The ID number assigned to the prescriber, automatically generated by the system. |
Address | The prescriber's main practicing address. |
Discipline | The prescriber's discipline, selected from a dropdown list. |
DEA License | The prescriber's DEA license number. |
DEA License Expiration | The date the prescriber's DEA license expires. |
NPI | The prescriber's NPI number. |
Pharmacy | The pharmacies with which the prescriber works. |
To remove the additional information from view, click the Hide Details button at the top of the page. This returns the display to show only basic information for the prescriber.
Edit Prescriber
 Clicking the Edit Prescriber button allows you to edit or change any relevant information for the related prescriber.
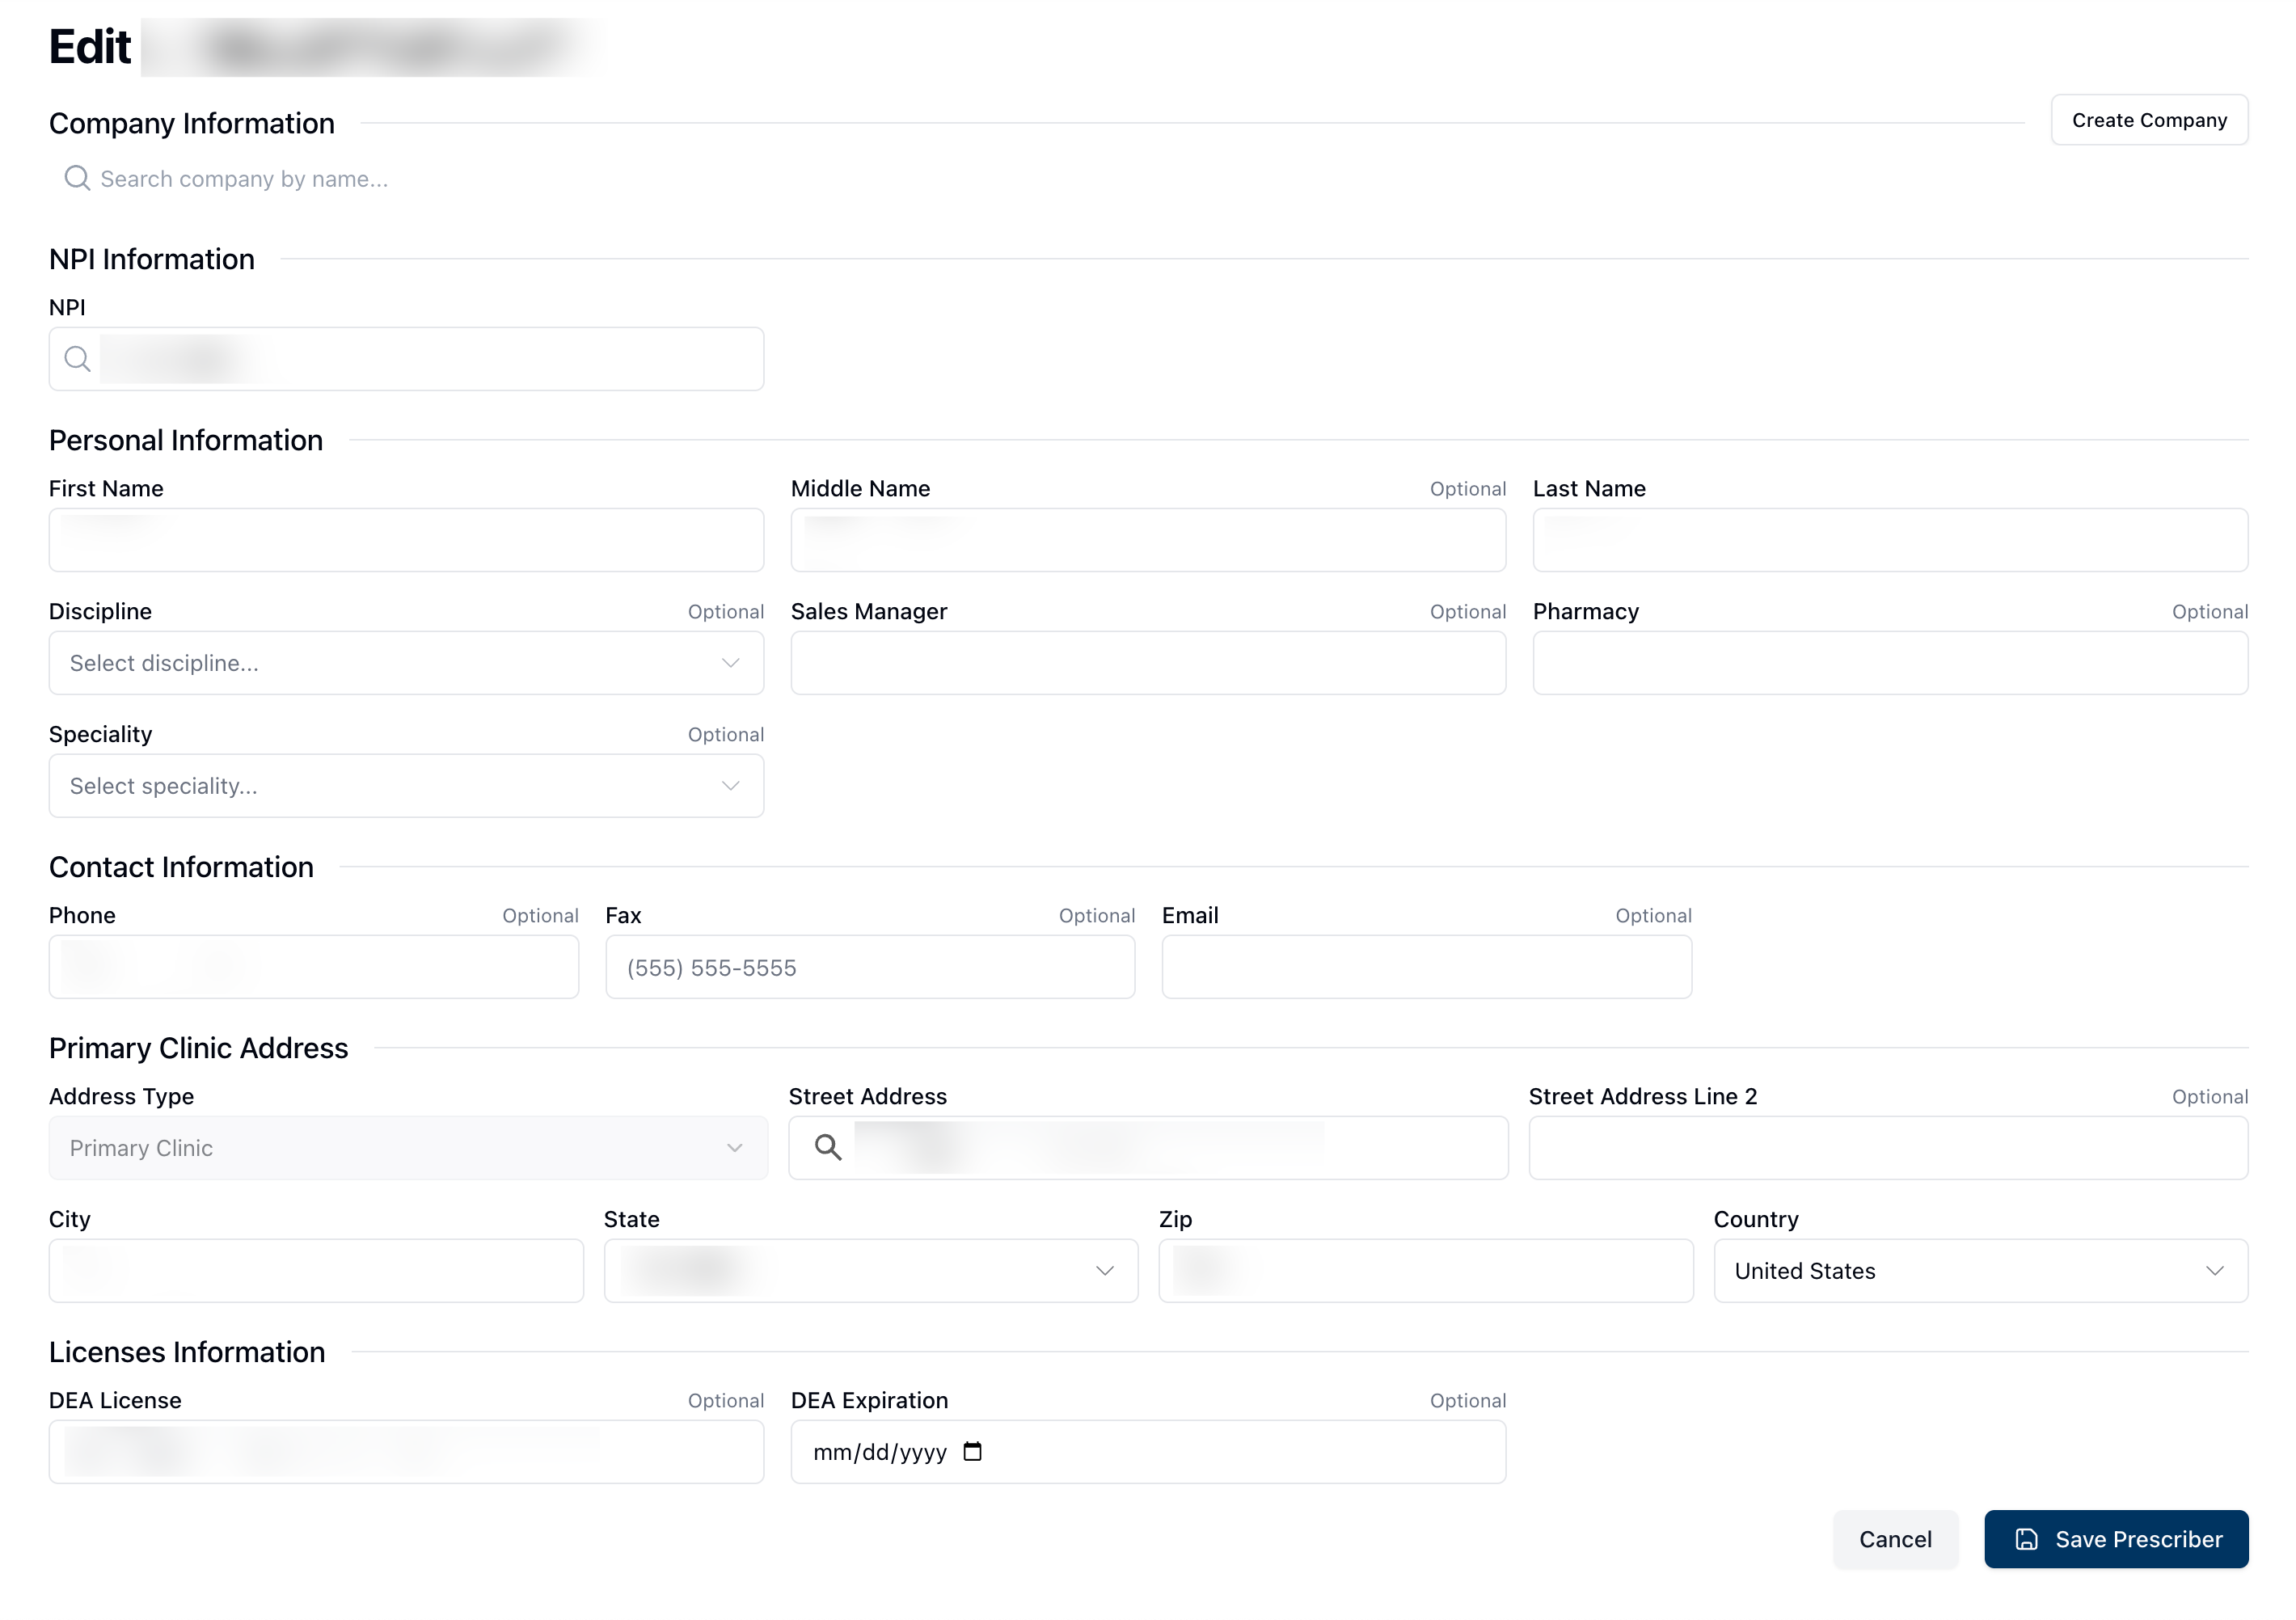 Once on the Edit Prescriber page, you can edit, insert, or delete any of the prescriber information by clicking directly on any of the editable fields. All fields are required, unless noted as optional.
Note that the NPI field is a search field, accepting only numbers. Editing the NPI entry automatically returns relevant search results, once ten numbers are entered. Additional fields, such as Discipline and Specialty include dropdown menus, allowing you to select the relevant choice from the list presented.
 After making any changes to the prescriber profile, click Save Prescriber to save your changes. If you made any changes in error, click Cancel to return to the previous page.
Deactivate
 To deactivate a prescriber profile, click the red Deactivate button in the upper right corner of the page.
Clicking this button opens a popup asking you to confirm the deactivation. If you’d like to deactivate the prescriber record, click Deactivate once more to confirm. If you clicked Deactivate in error, selecting Cancel returns you to the previous page. You may also reactivate a deactivated prescriber by visiting the prescriber record and selecting the Reactivate button. In the popup that appears, select Reactivate to confirm the profile's reactivation. If you'd like to keep the profile inactive, click Cancel to return to the previous page.
Activity Log
 You can view the system Activity Log by clicking the clock icon in the upper right corner of the page.
For more information about the Activity Log, visit Activity Log.
Users (To do)
Documents
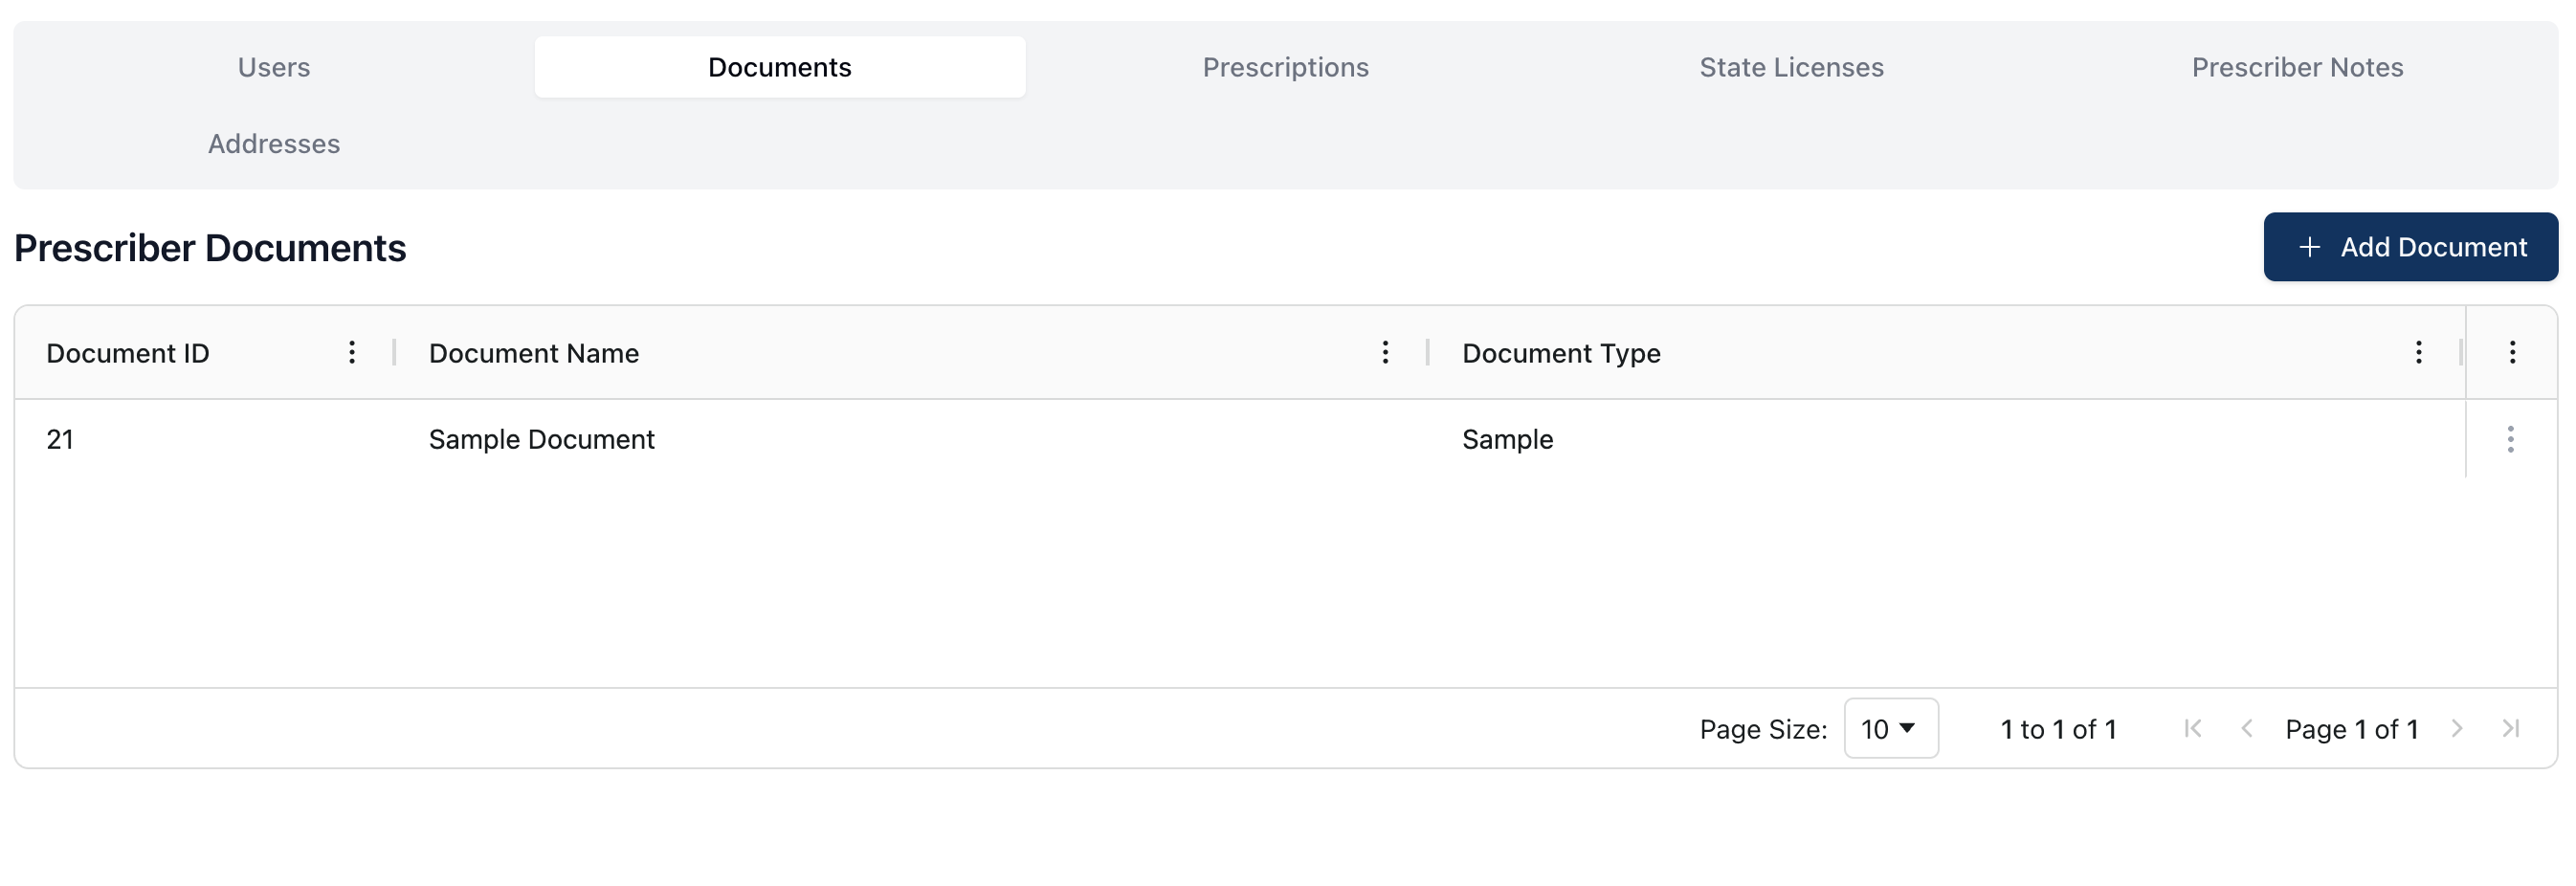 The Documents tab displays all documents uploaded to the prescriber record. All relevant documents in the Prescriber Documents table include the following information:
Document ID | The document ID number, automatically generated by the system. |
Document Name | The name of the document. |
Document Type | The type of document uploaded. |
You can sort documents in ascending or descending order, per column.
 To view any of the documents included in the Prescriber Documents table, click the actions menu ( ⠇) to the right of the item. This opens a dropdown menu with the following options:
View Document: View the document and related information in a separate popup.
Edit Document: Edit or update the related document.
Delete Document: Delete this document from the prescriber profile.
Adding a prescriber document
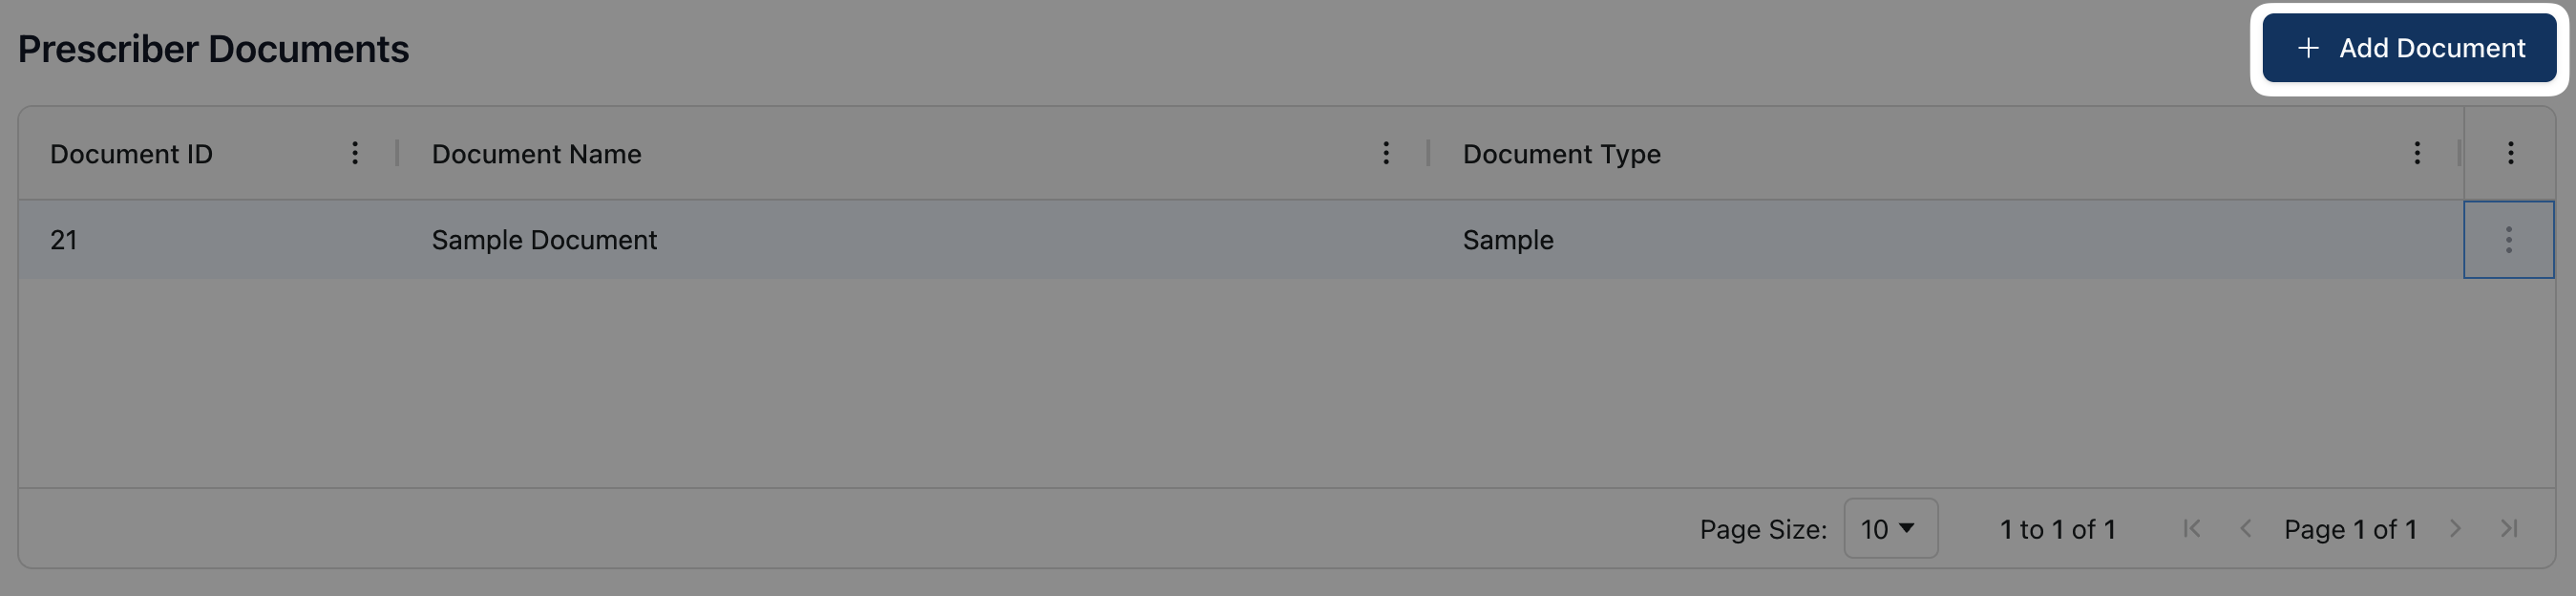 To add a new document to a prescriber profile, click the + Add Document button.
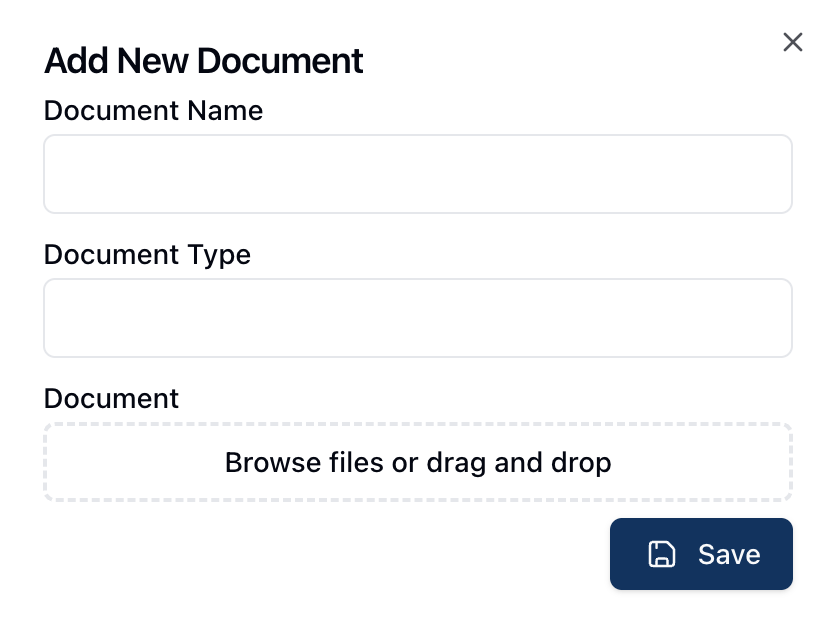 In the popup that appears, fill out the relevant fields, including the Document Name and the Document Type.
Under Document, you can either drag and drop the related document(s) into the upload field or click directly on the upload box to browse and select files from your computer. Once all relevant fields are complete, click Save to upload the document.
Prescriptions
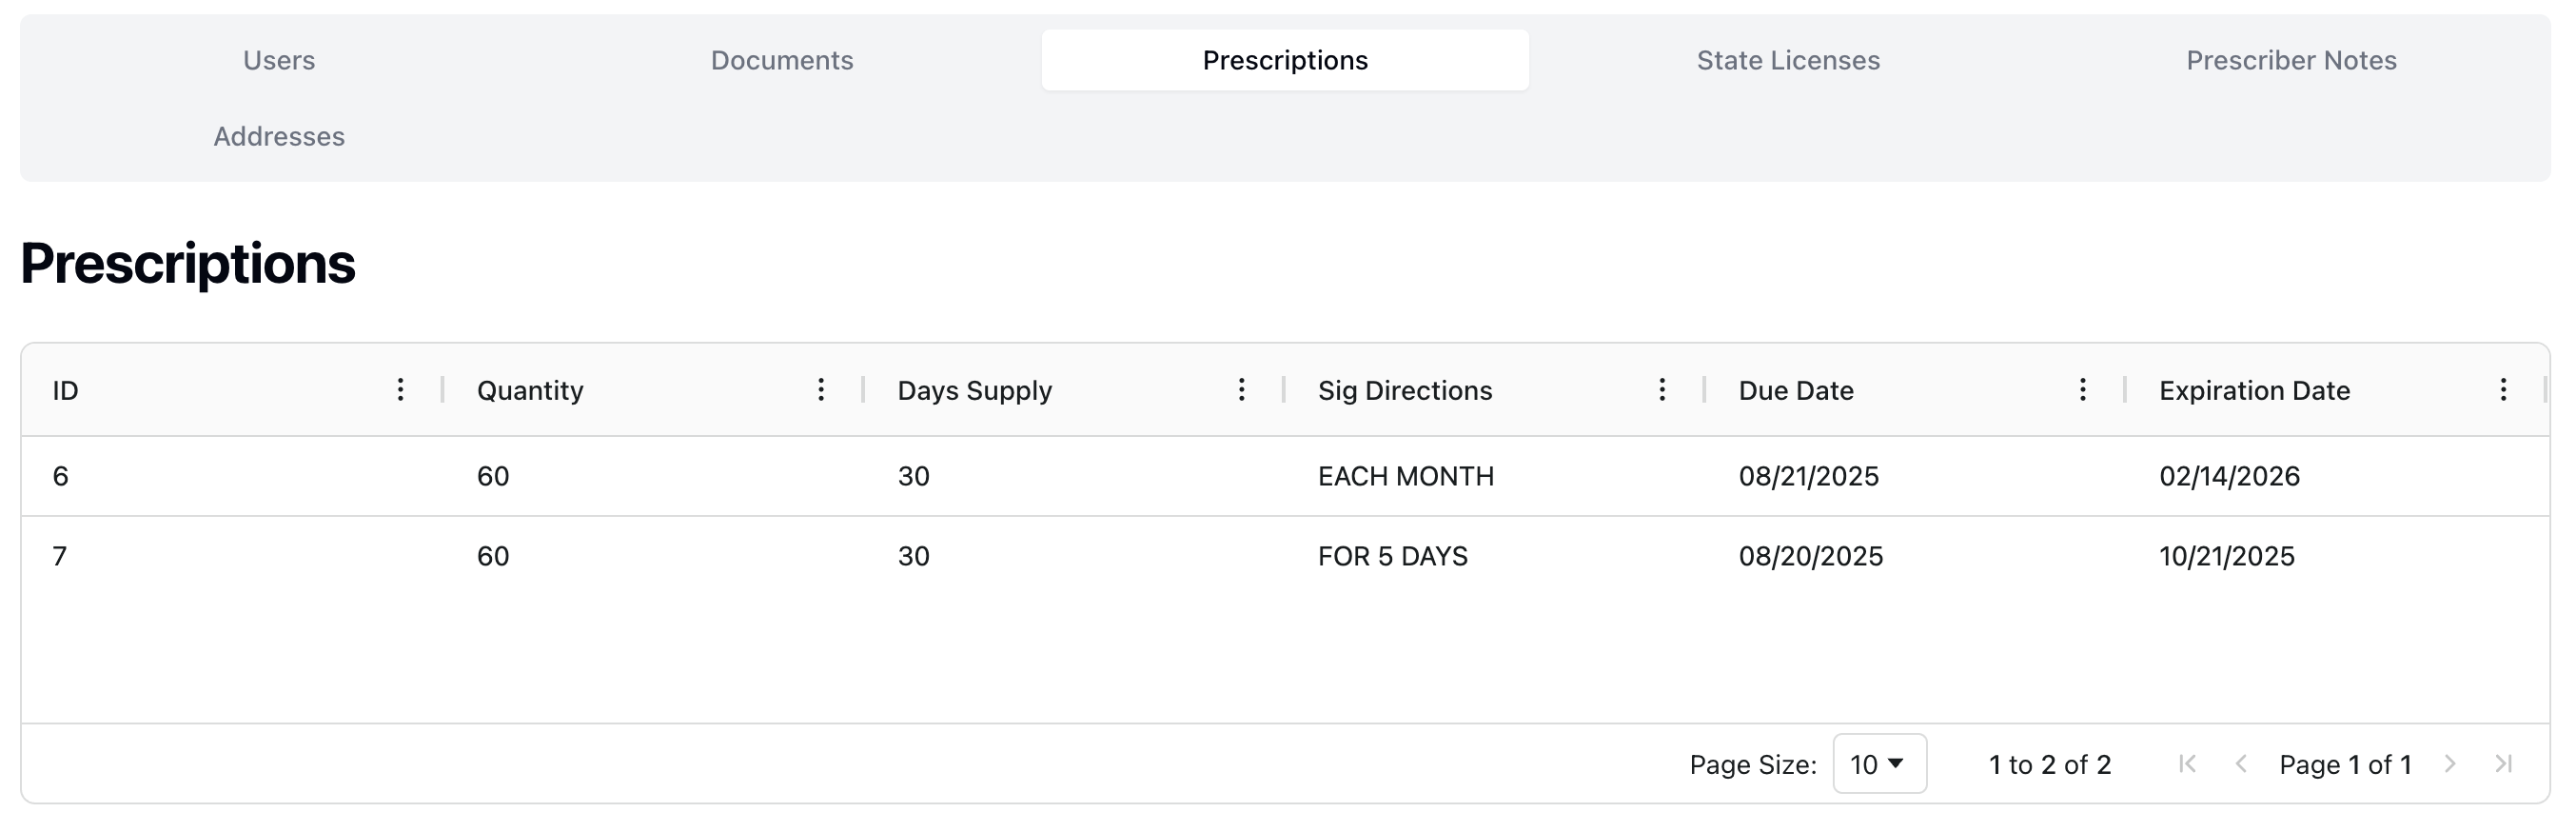 The Prescriptions tab displays a list of all prescriptions related to the prescriber.
The Prescriptions table displays all prescriptions, sorted by Prescription ID by default. Each prescription includes the following information:
ID | The Prescription ID, automatically generated by the system. |
Quantity | The quantity of the prescription. For example, 30 capsules. |
Days Supply | The number of days the prescription is intended to last for. |
Sig Directions | The prescriber’s directions for appropriate use of the prescription, per the Rx label. |
Due Date | The date by which the fill should be completed. |
Expiration Date | The date the prescription expires. |
You can sort prescriptions in ascending or descending order, per column.
State Licenses
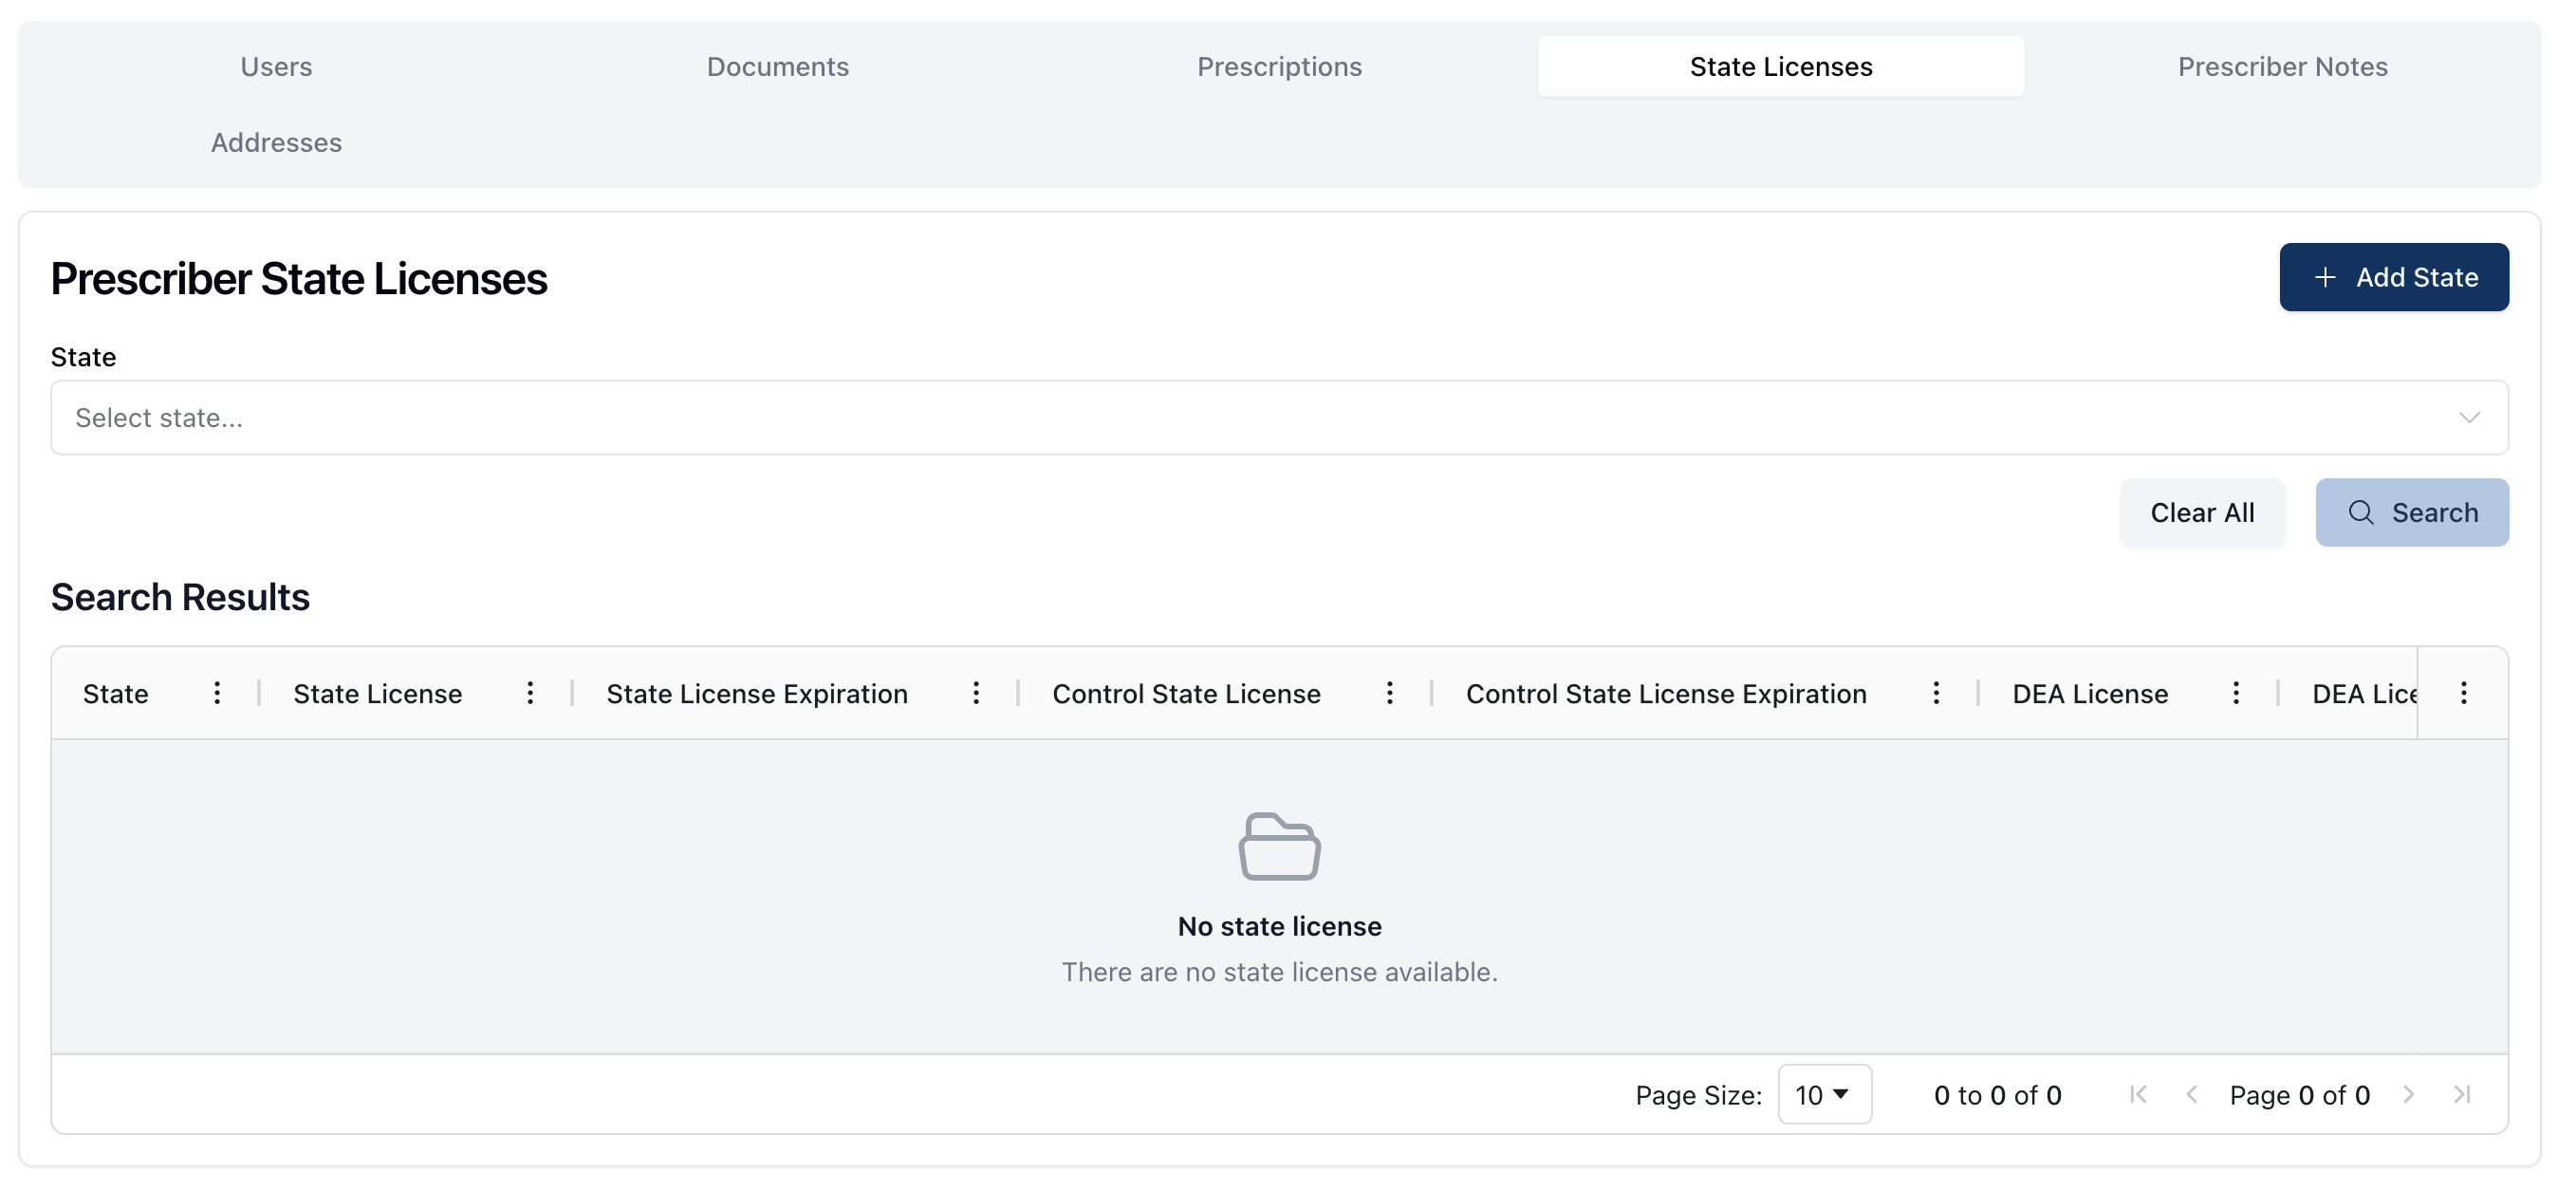 The State Licenses tab displays all licenses added to the prescriber record.
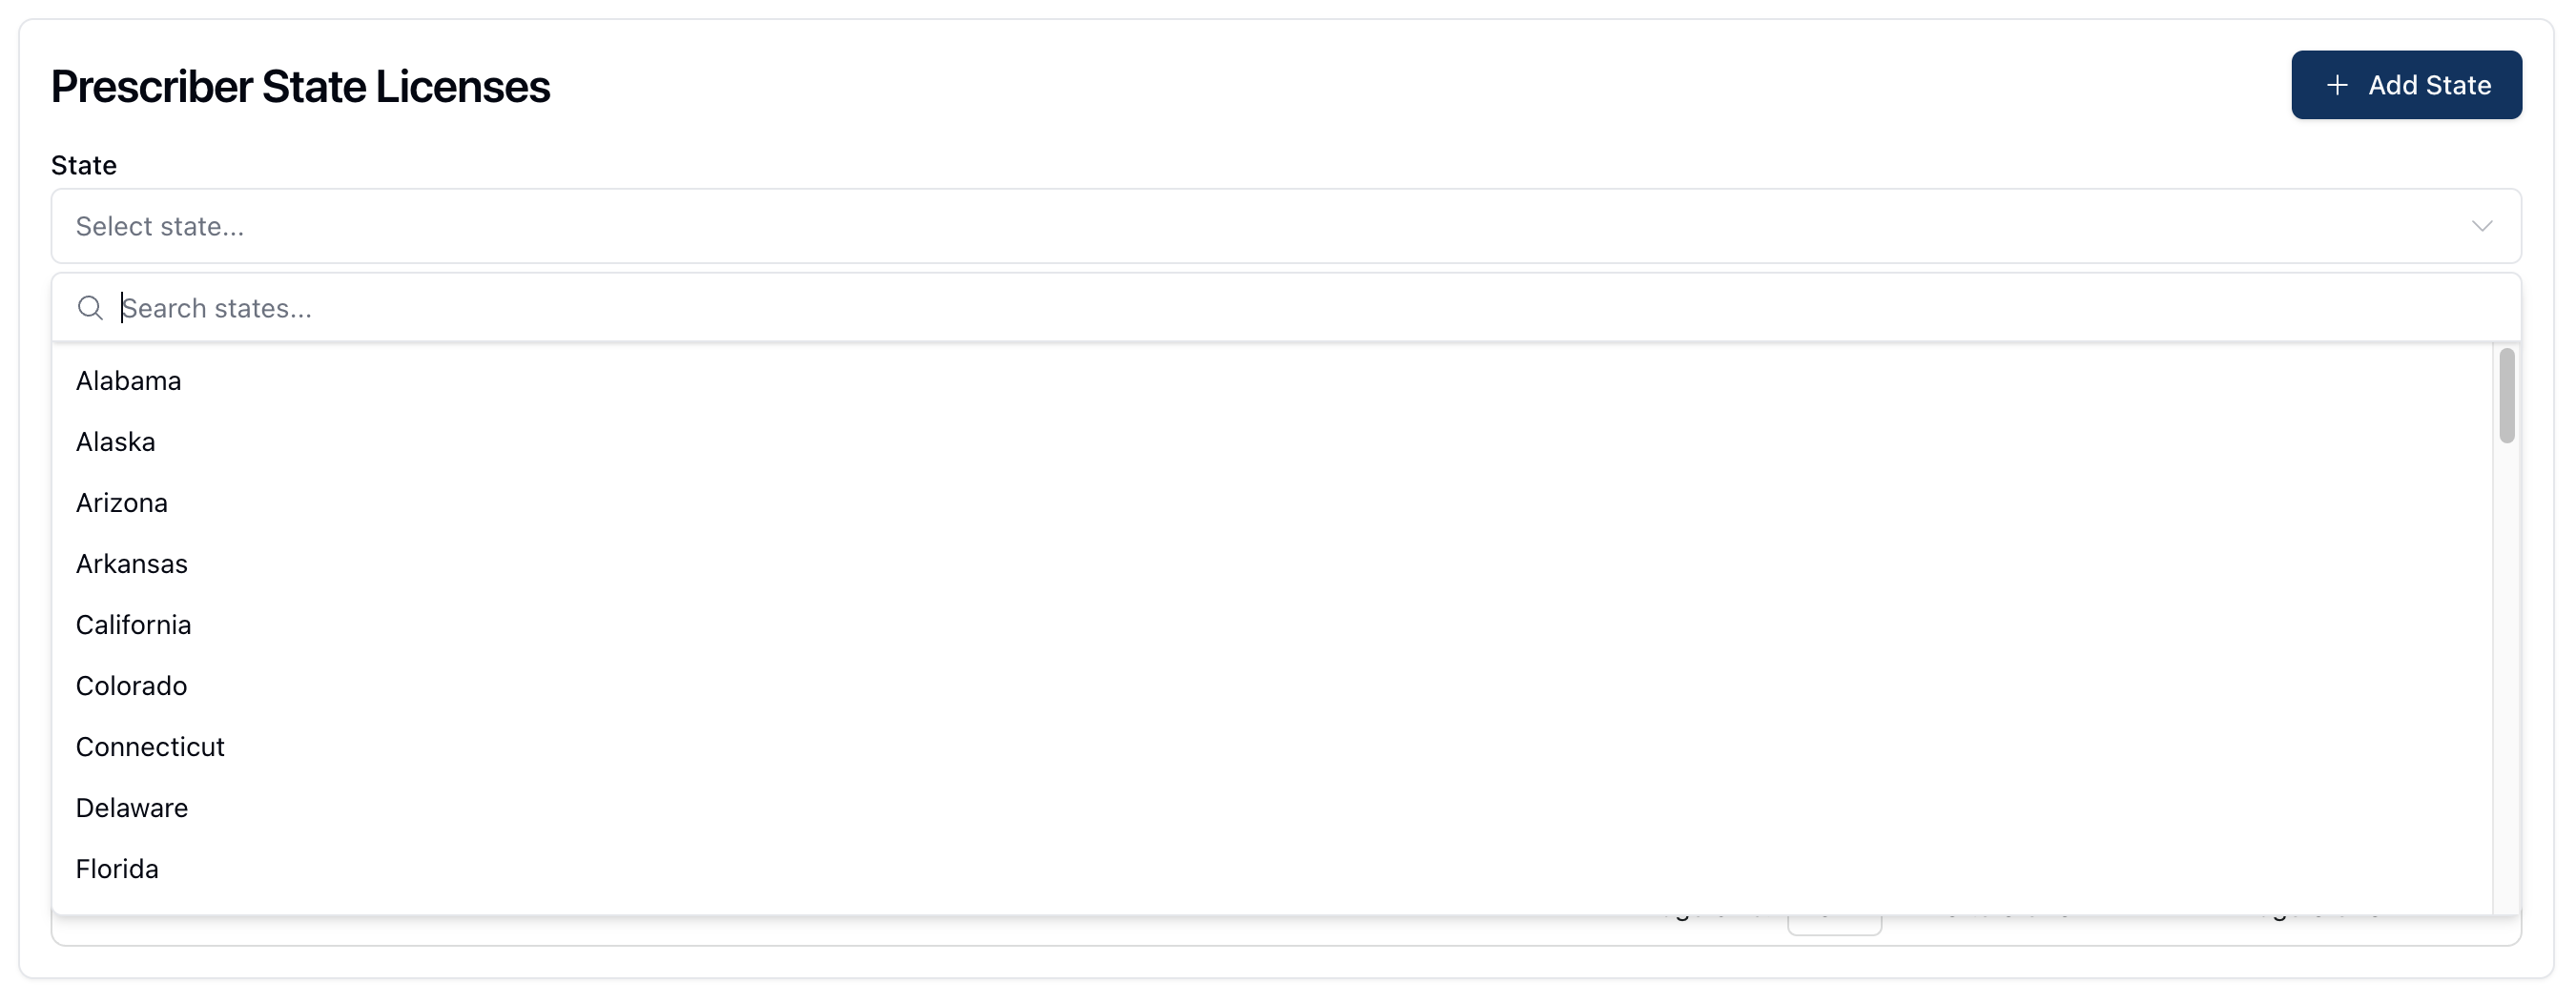 t the top of the page, you can filter licenses per state by selecting the appropriate state from the dropdown menu under Prescriber State Licenses \> State. When searching for licenses per state, you can also directly type the state name into the search field at the top of the dropdown menu to filter the results.
When the appropriate state appears, select it from the dropdown menu to insert it into the search field. Then, click Search to filter the search results in the table below.
To view all licenses once more, you can remove any filters by clicking the Clear button to return the search results to their default.
The Search Results table displays all relevant licenses related to the prescriber, with the following fields included:
State | The state that issued the license(s). |
State License | The state license number. |
State License Expiration | The state license expiration date. |
Control State License | The control state license number. |
Control State License Expiration | The control state license number expiration date. |
DEA License | The DEA license number, following the format displayed in the related field. |
DEA License Expiration | The date the prescriber's DEA license expires. |
Adding a prescriber state license
 To add a state license to a prescriber record, click the + Add State button in the upper right corner of the page.
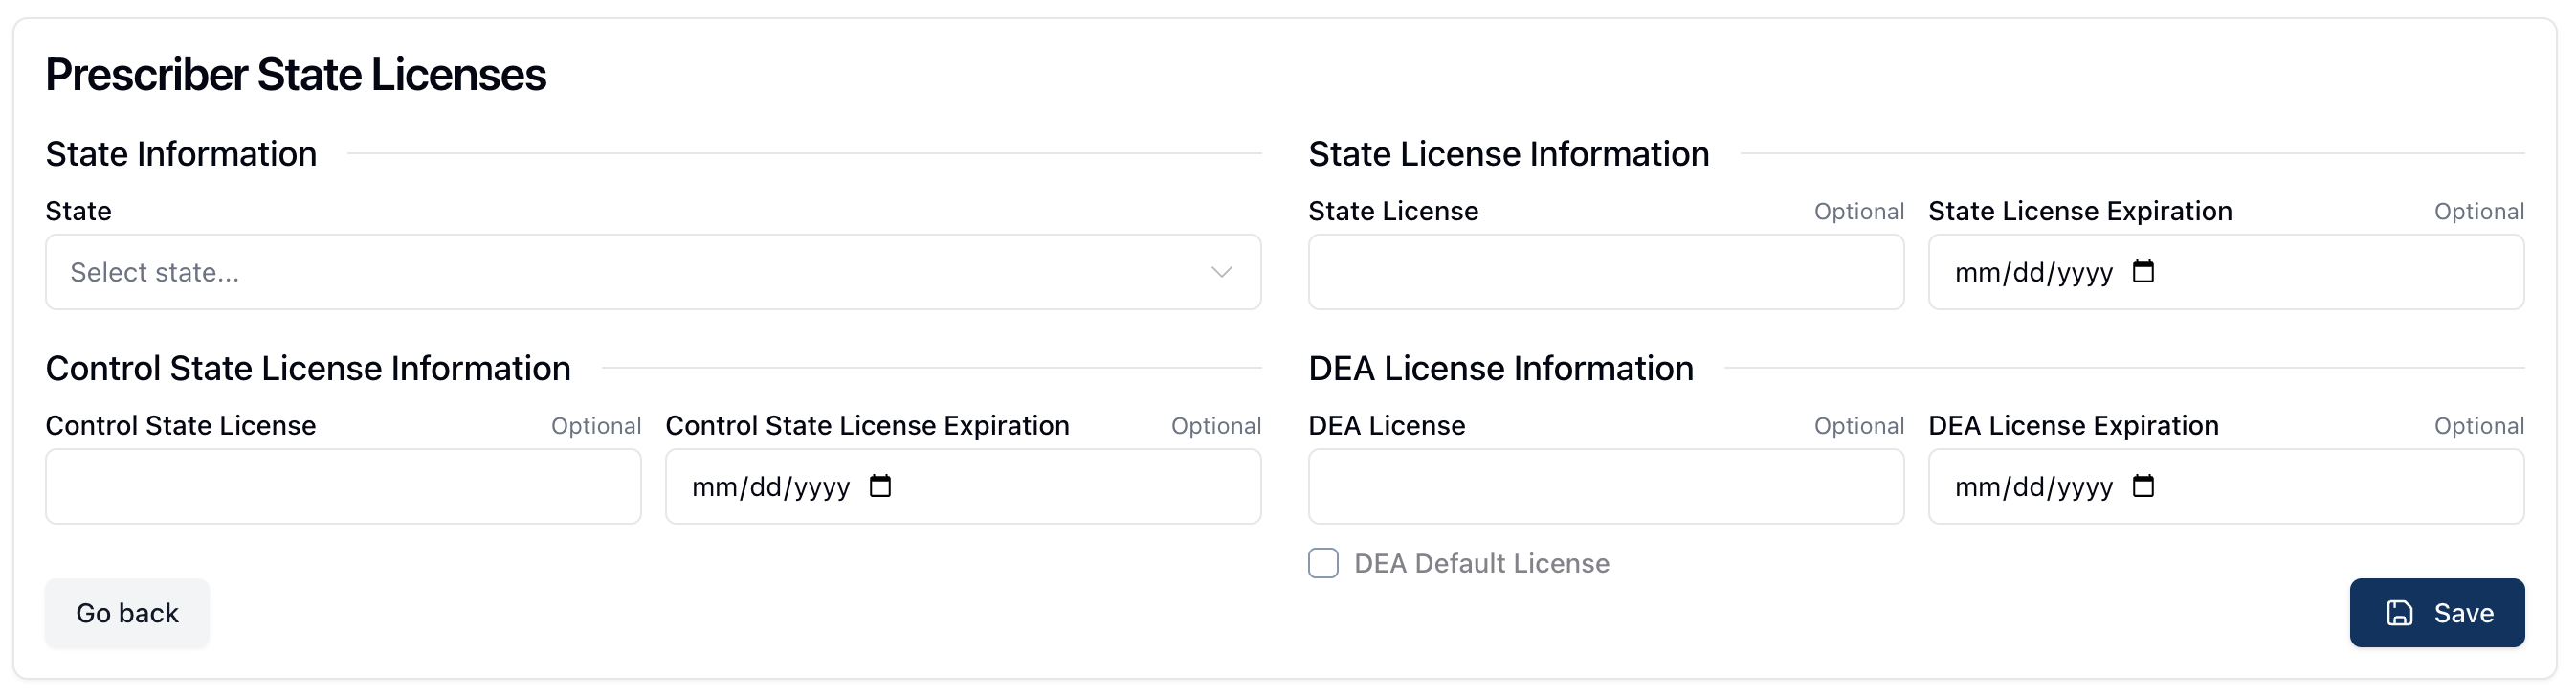 Clicking + Add State opens the relevant form, allowing you to enter the following information:
State Information | The state that issued the license(s). |
State License Information | This includes the state license number and the related expiration date for the license. |
Control State License | This includes fields for the control state license and the related expiration date. |
DEA License Information | This includes the DEA license number and the related expiration date for the DEA license. If this is the default DEA license for this prescriber, check the DEA Default License checkbox. |
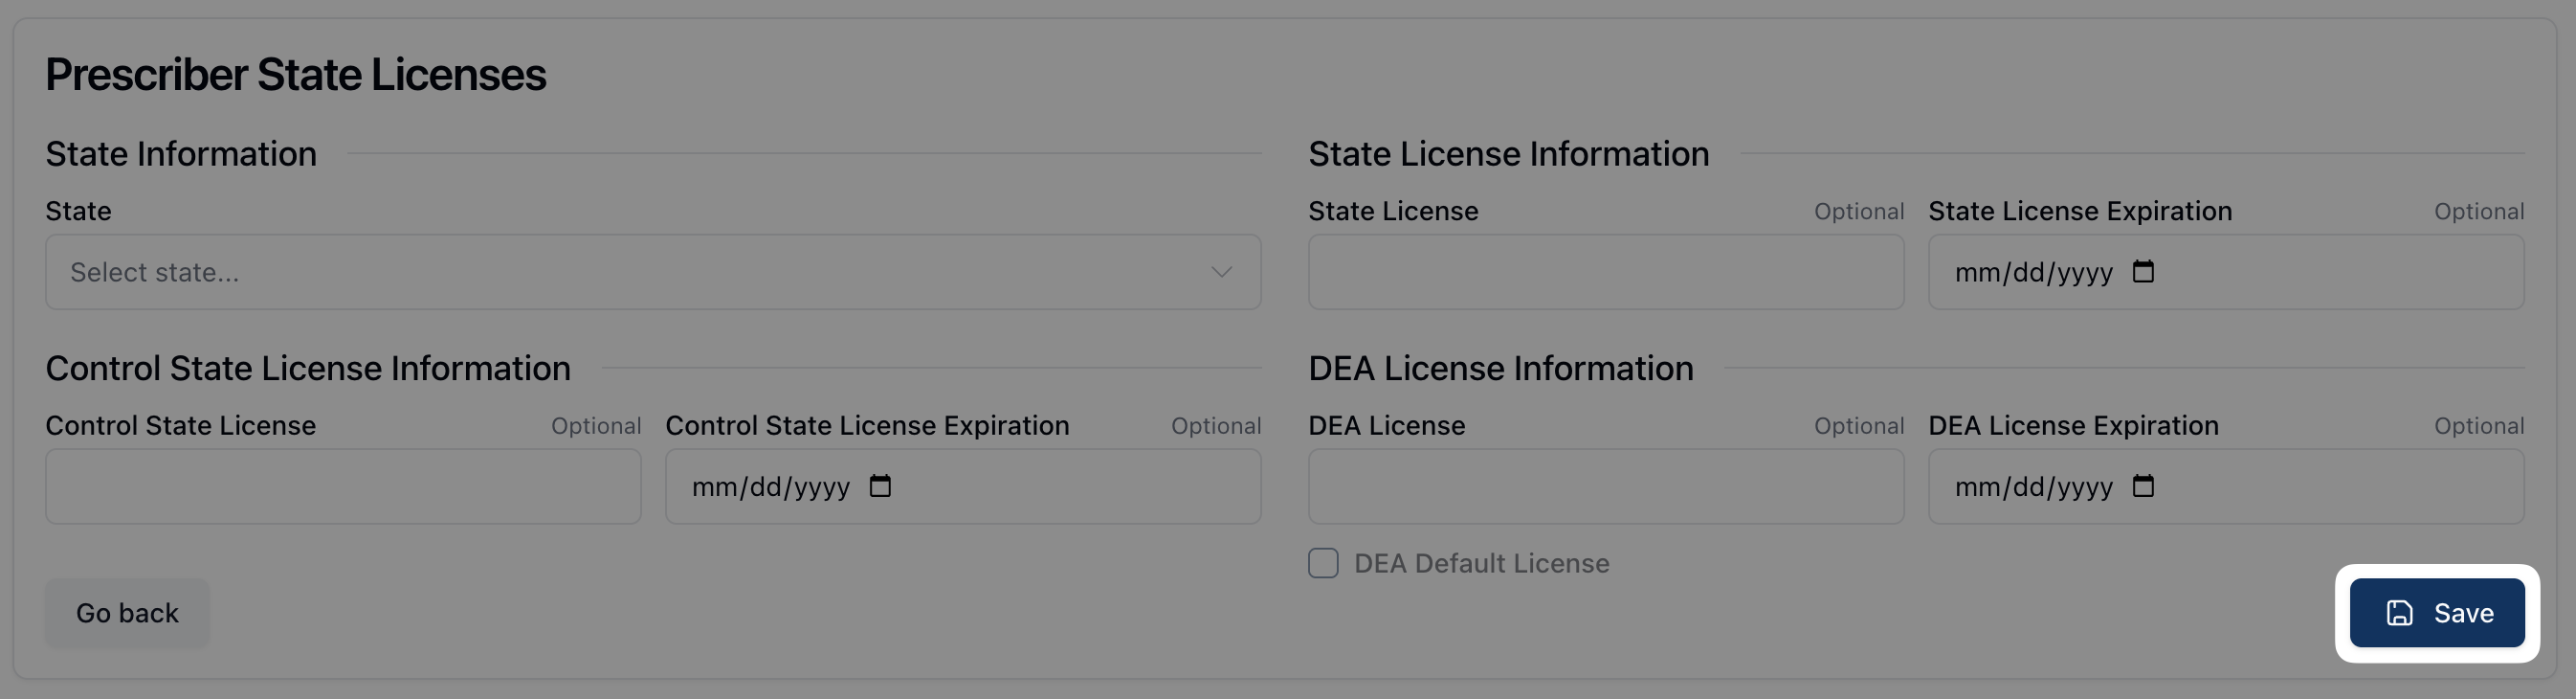 Once all relevant fields are complete, click the Save button to save the information.
To edit or delete a state license, scroll to the right of the Search Results table and open the actions menu ( ⠇). Click Edit to edit and revise the state license information. Click Delete to remove the state license record.
Prescriber Notes
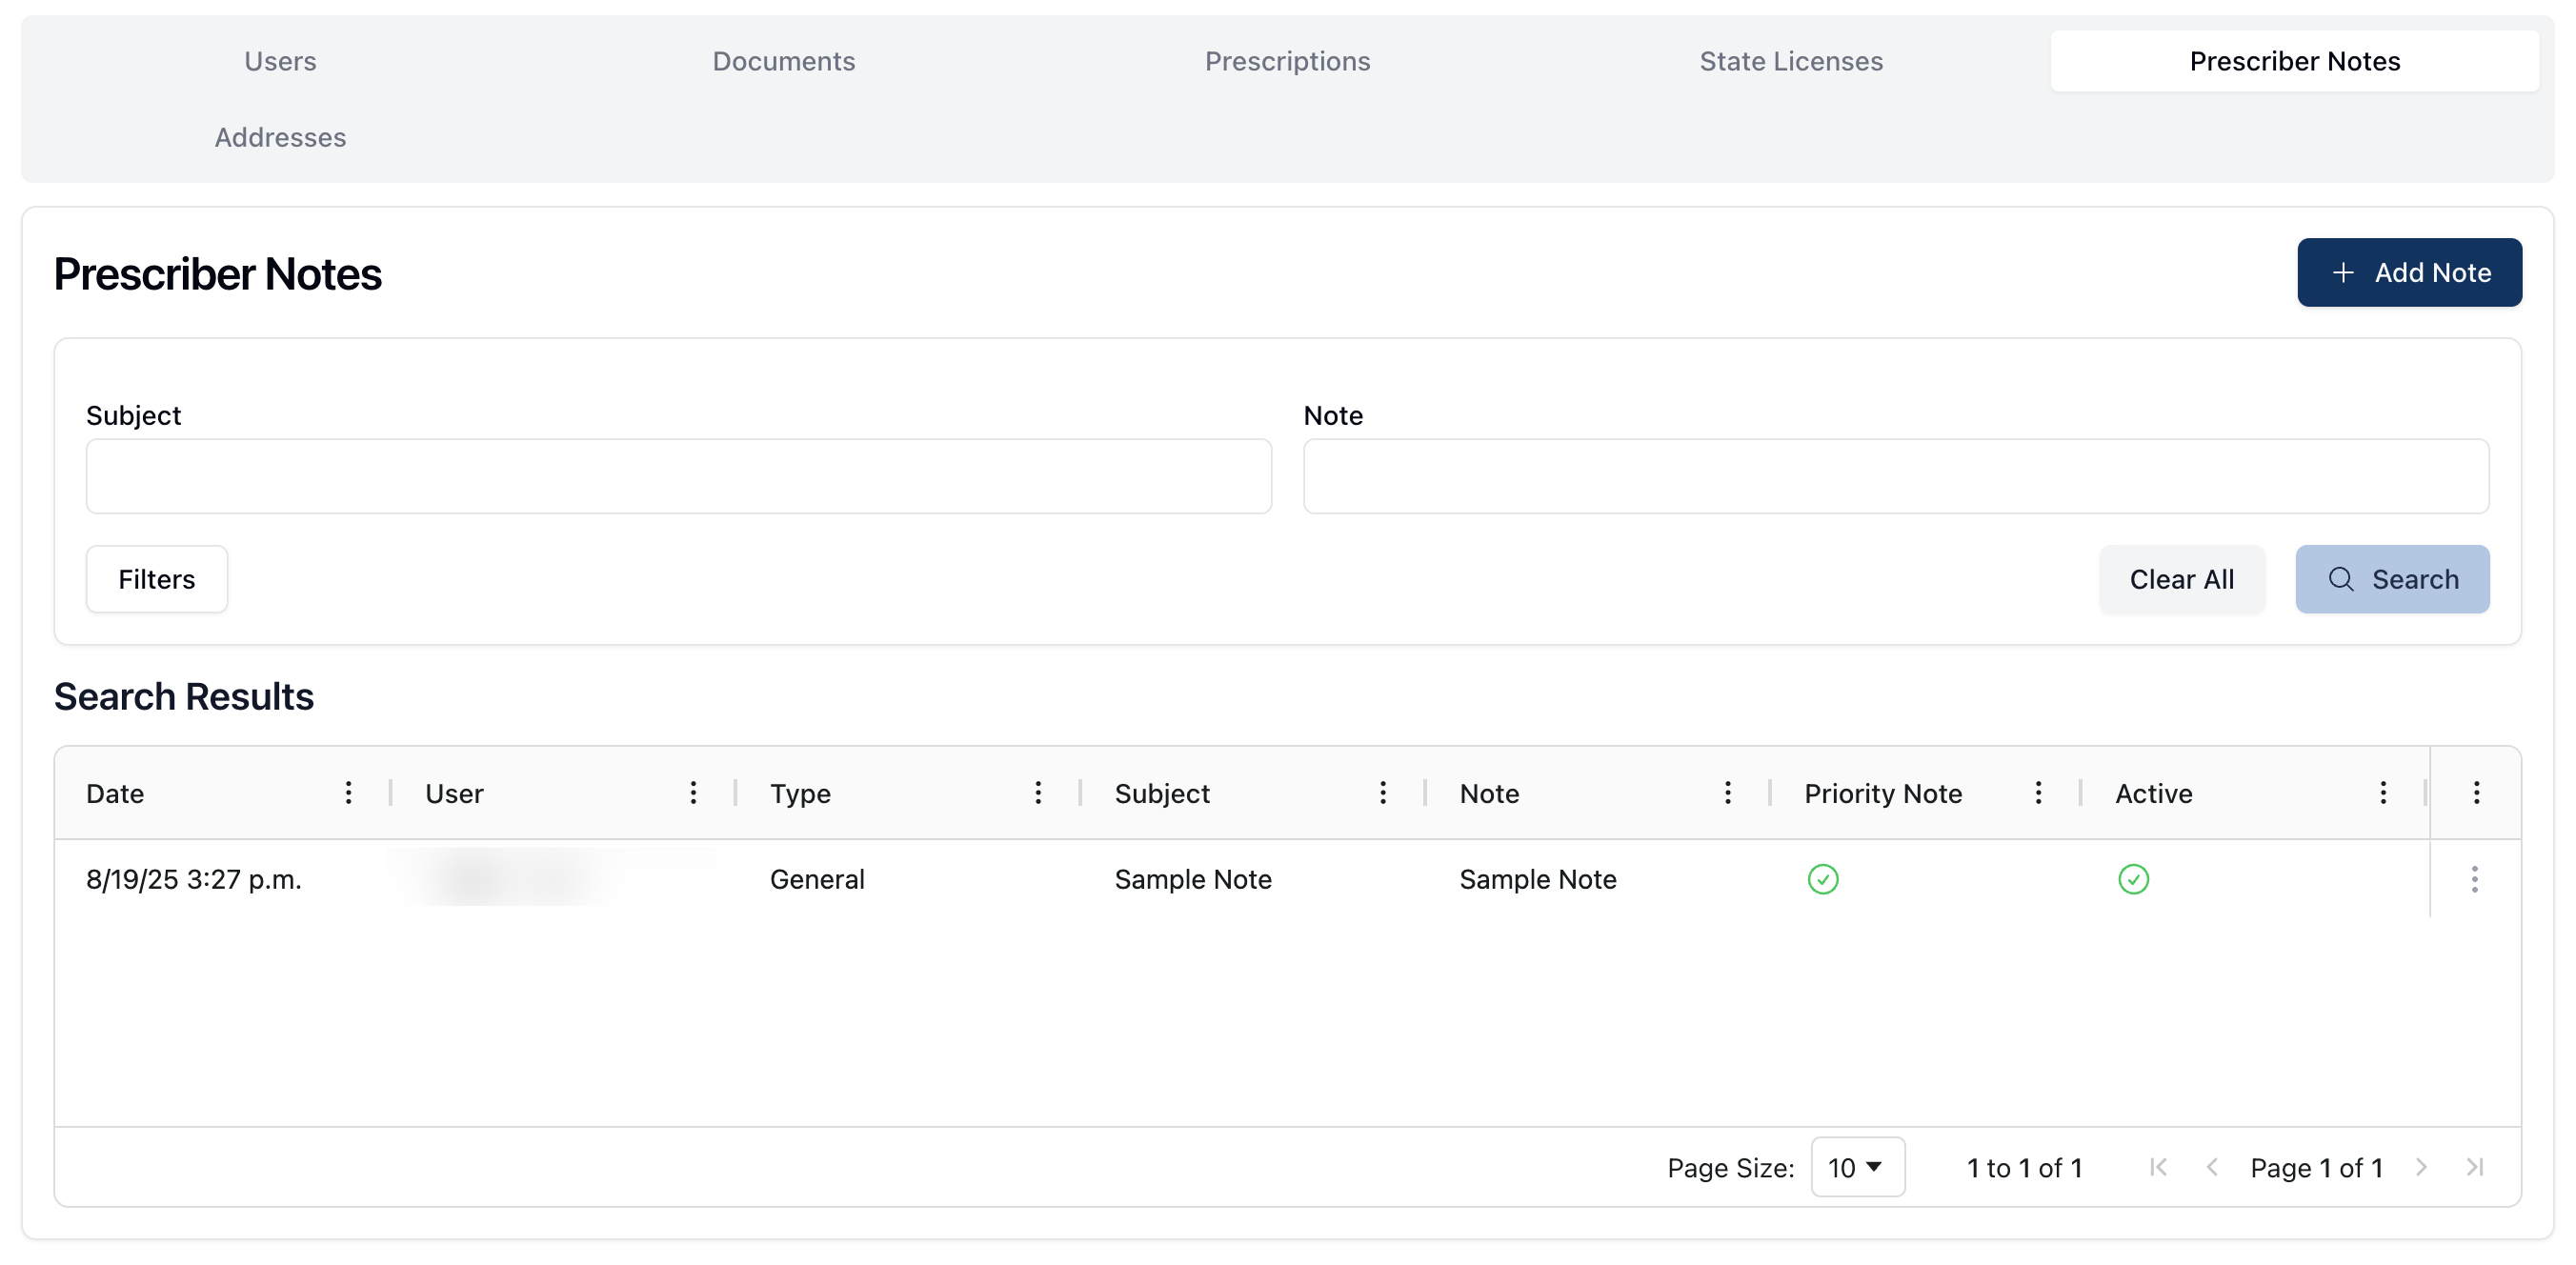 The Prescriber Notes tab displays all notes added to a prescriber record.
You can filter which notes appear in the Search Results with the search fields under Prescriber Notes. These fields allow you to search for or filter notes by the subject of the note and the note's content.
The Filters button provides additional search options, including:
Show Deactivated Notes, which includes inactive notes in the search results
Priority Notes, which displays notes marked as a Priority Note
Note that prescribers with a priority note attached to their record display a Priority Note badge next to their name, including the number of priority notes attached to their record.
To view the note's content, click the actions menu ( ⠇) to the right of the note and select View. This opens the related note in a sidebar window, displaying the subject, note content, active/inactive status, and priority status.
You can also use this menu to edit an existing note, by clicking on Edit, or delete a note, by clicking on Delete.
Adding a prescriber note
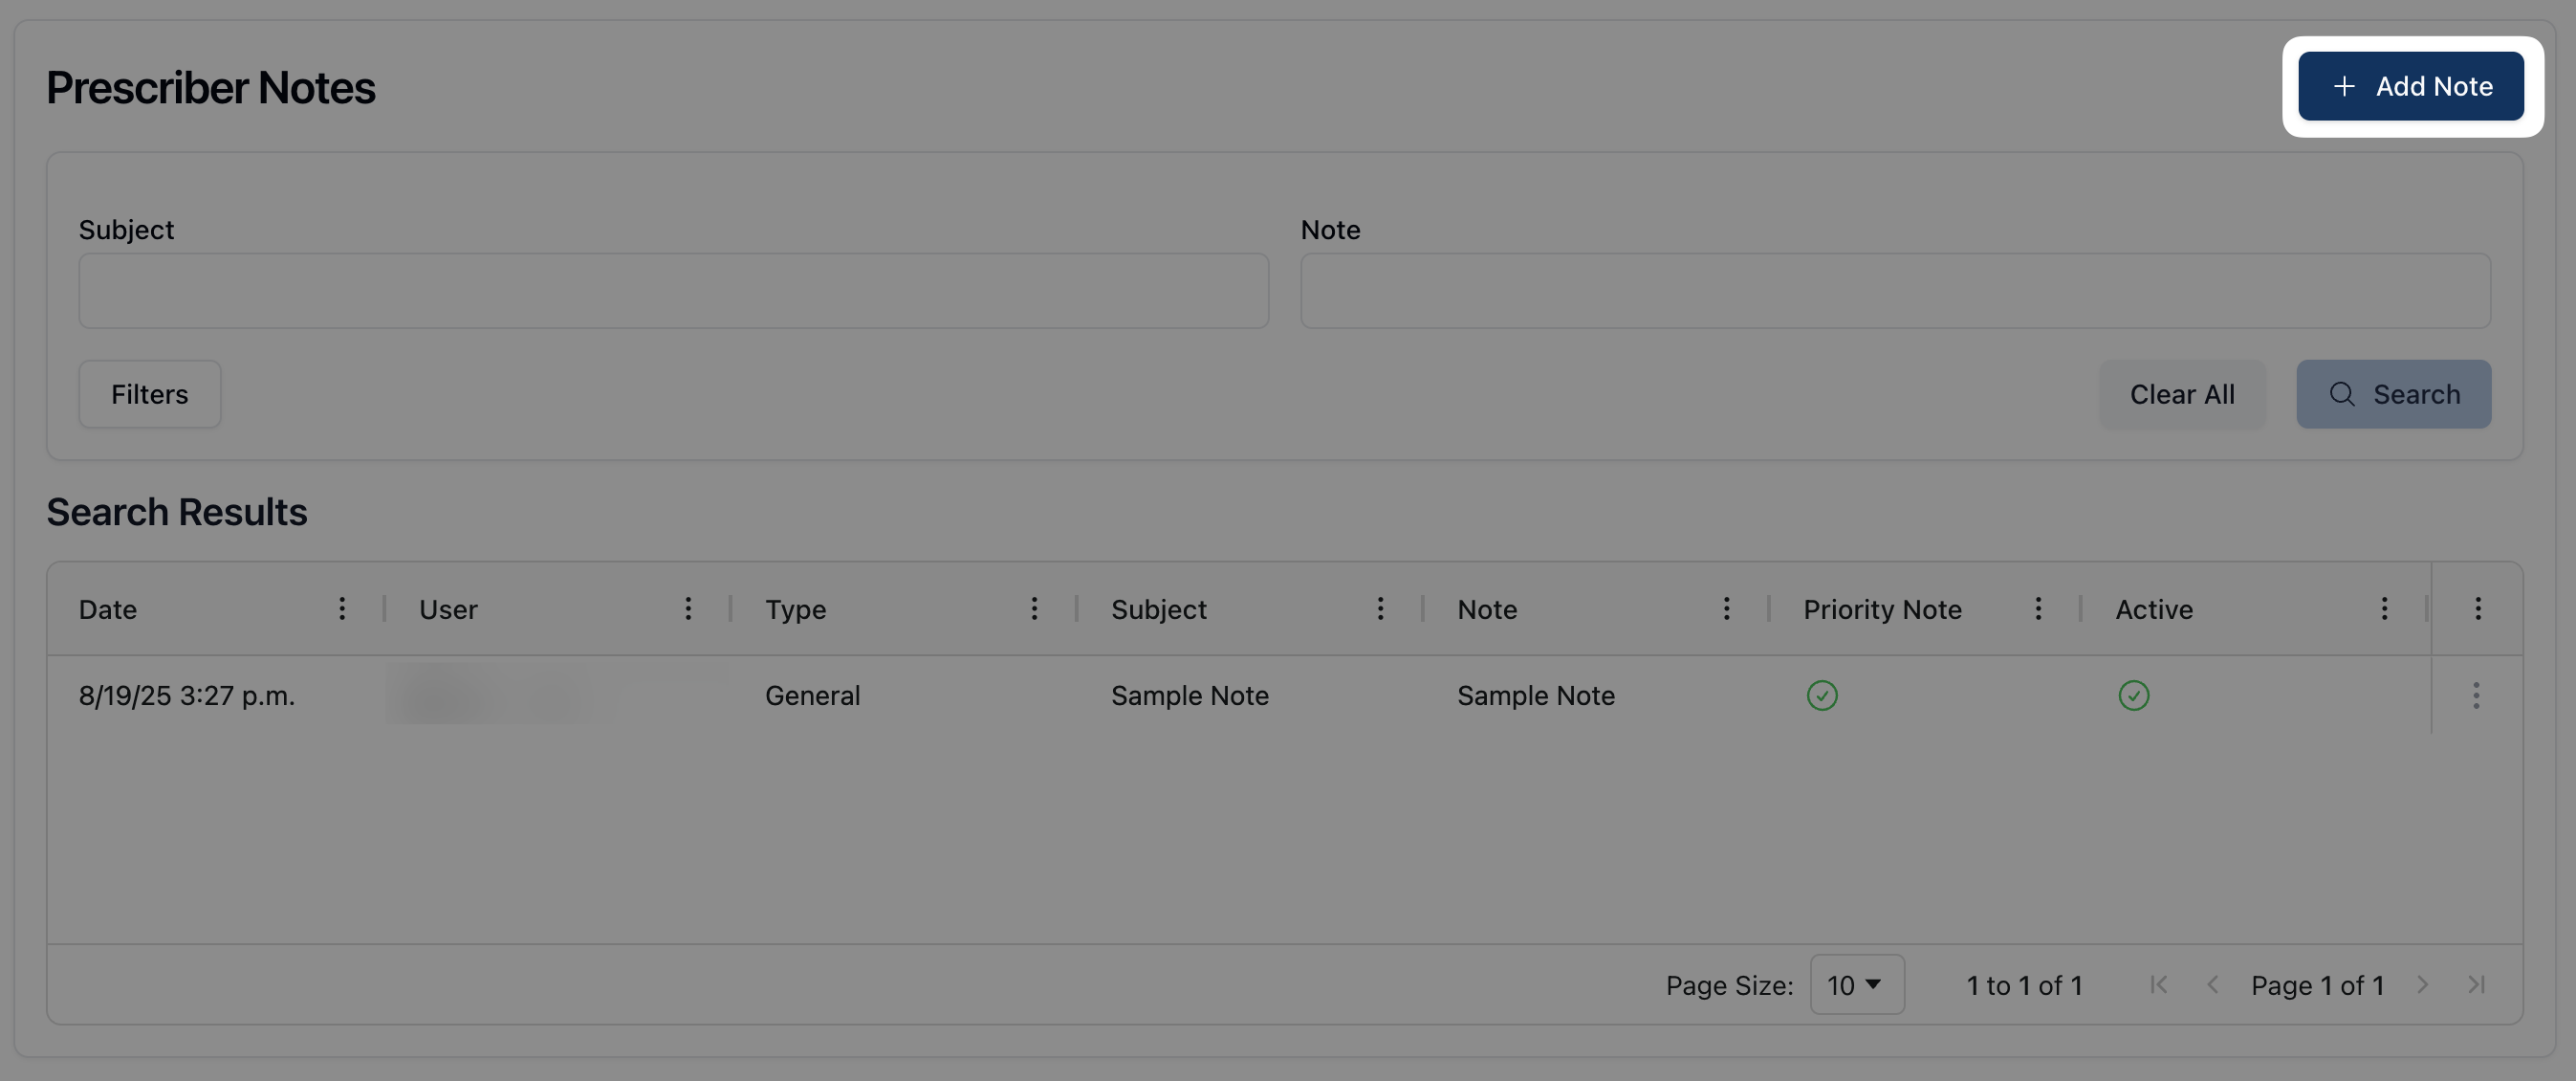 To add a note to a prescriber record, click the + Add Note button on the upper right corner of the page.
 This opens the Create Prescriber Note form, where you can add the following information:
Priority Note (Checkbox): If this note is high priority, check the Priority Note checkbox.
Subject: The subject line of the note.
Note Type: The type of note, Clinical or General.
Note: This field is a freeform text field where you can write the content of the note itself.
Once all relevant information is entered, click Save to save the note.
Addresses
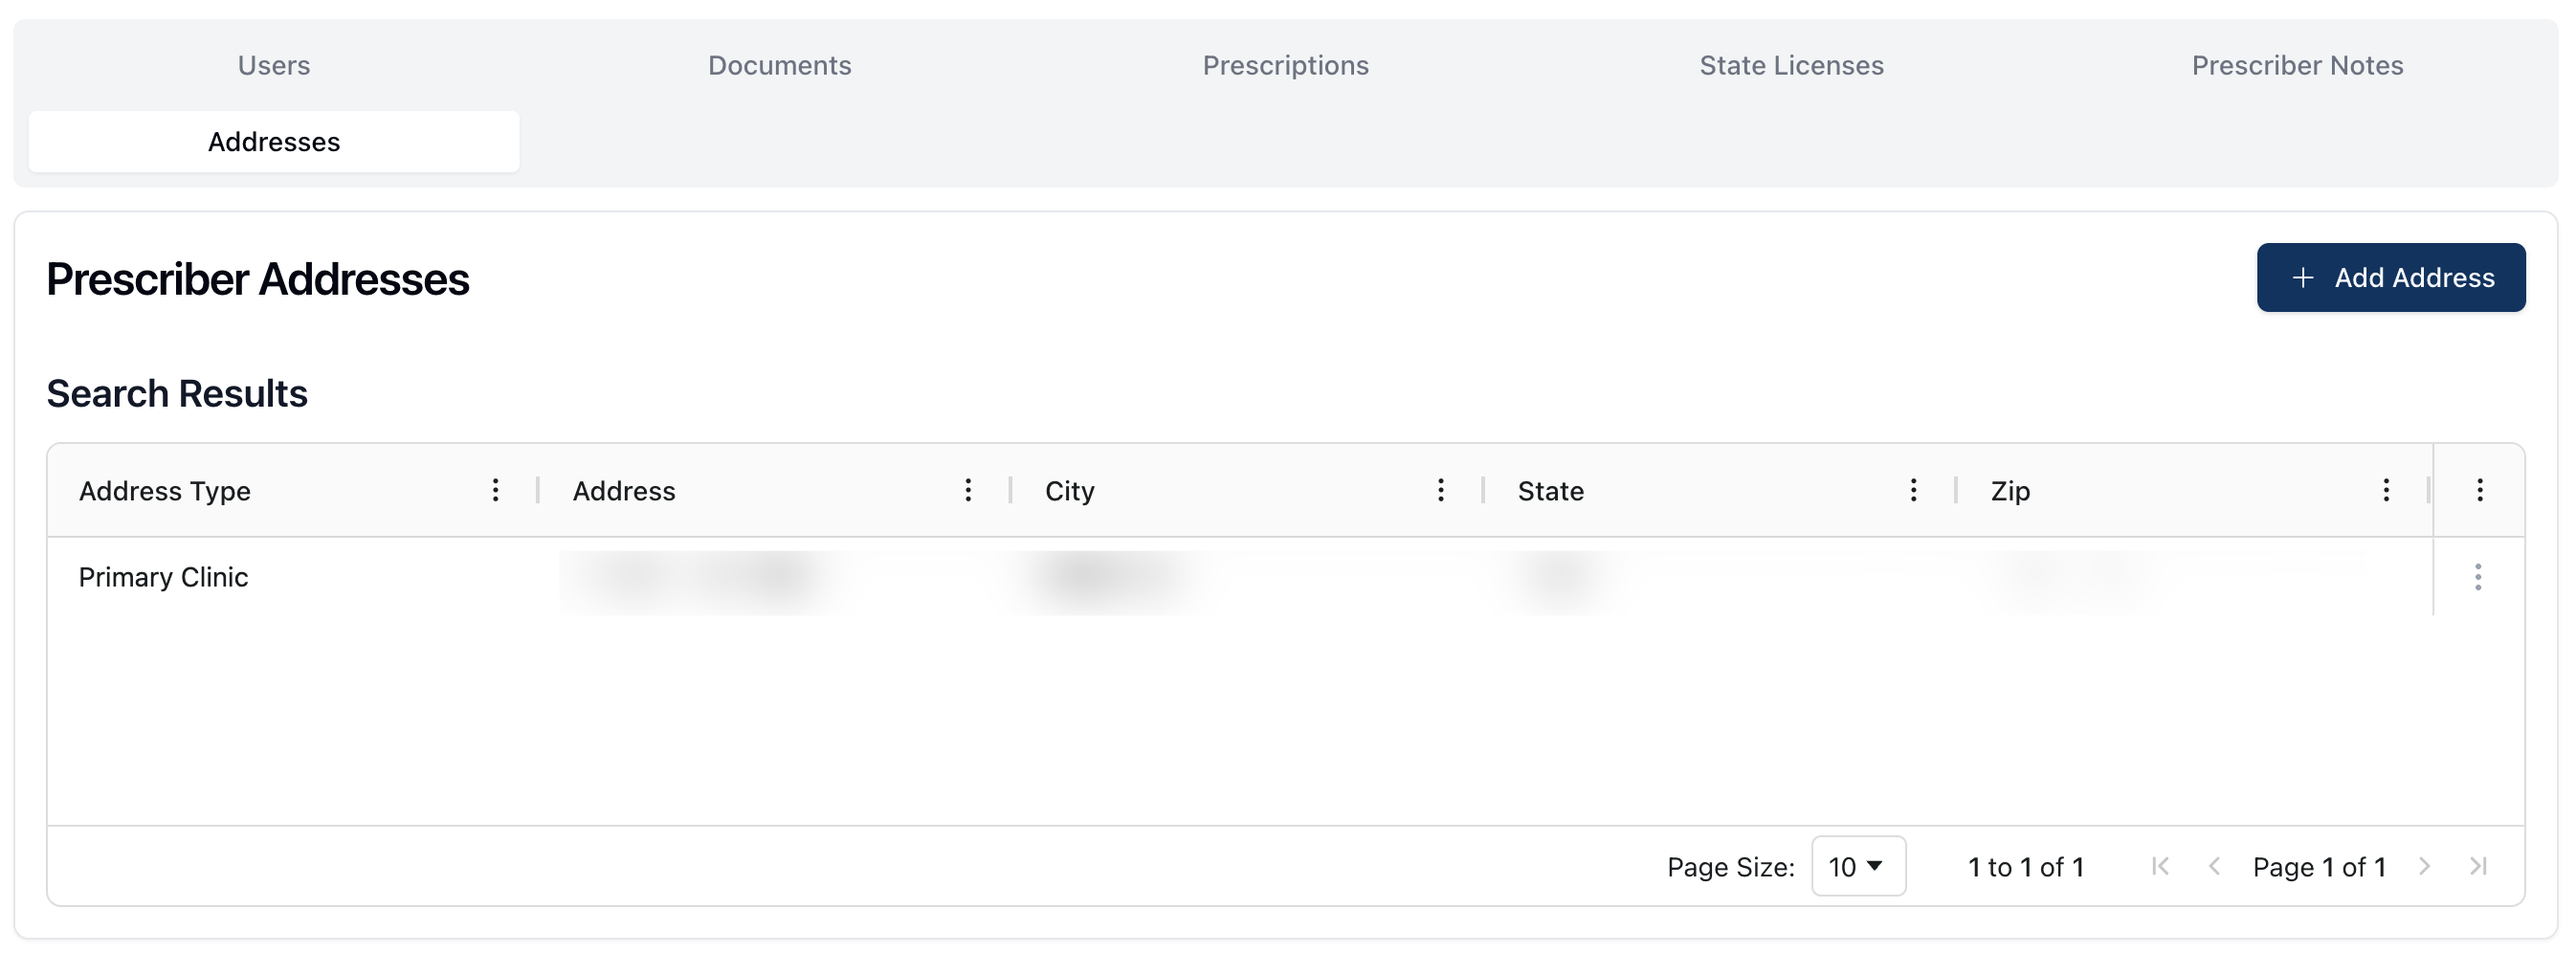 The Addresses tab displays all the addresses affiliated with the prescriber. The Search Results table displays all addresses, including the address and the address type.
Adding a prescriber address
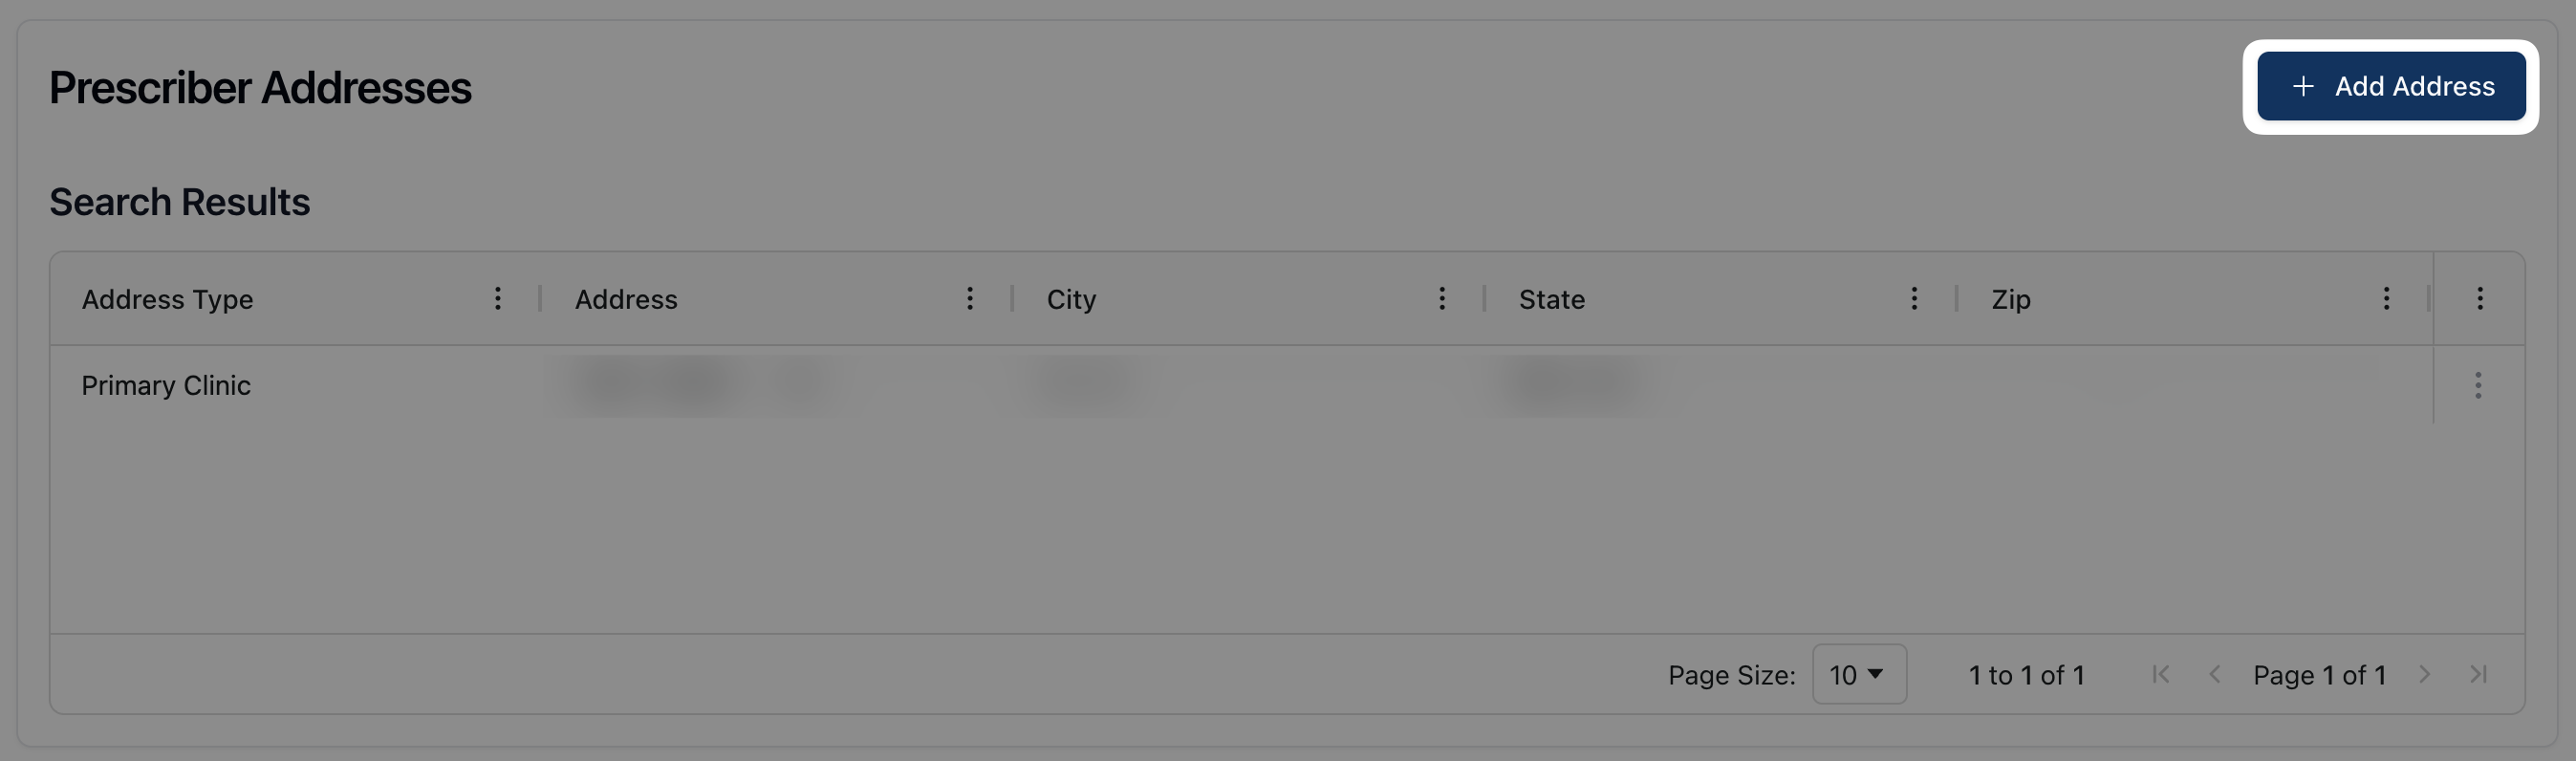 To add a new address to a prescriber record, click the + Add Address button in the upper right corner of the page.
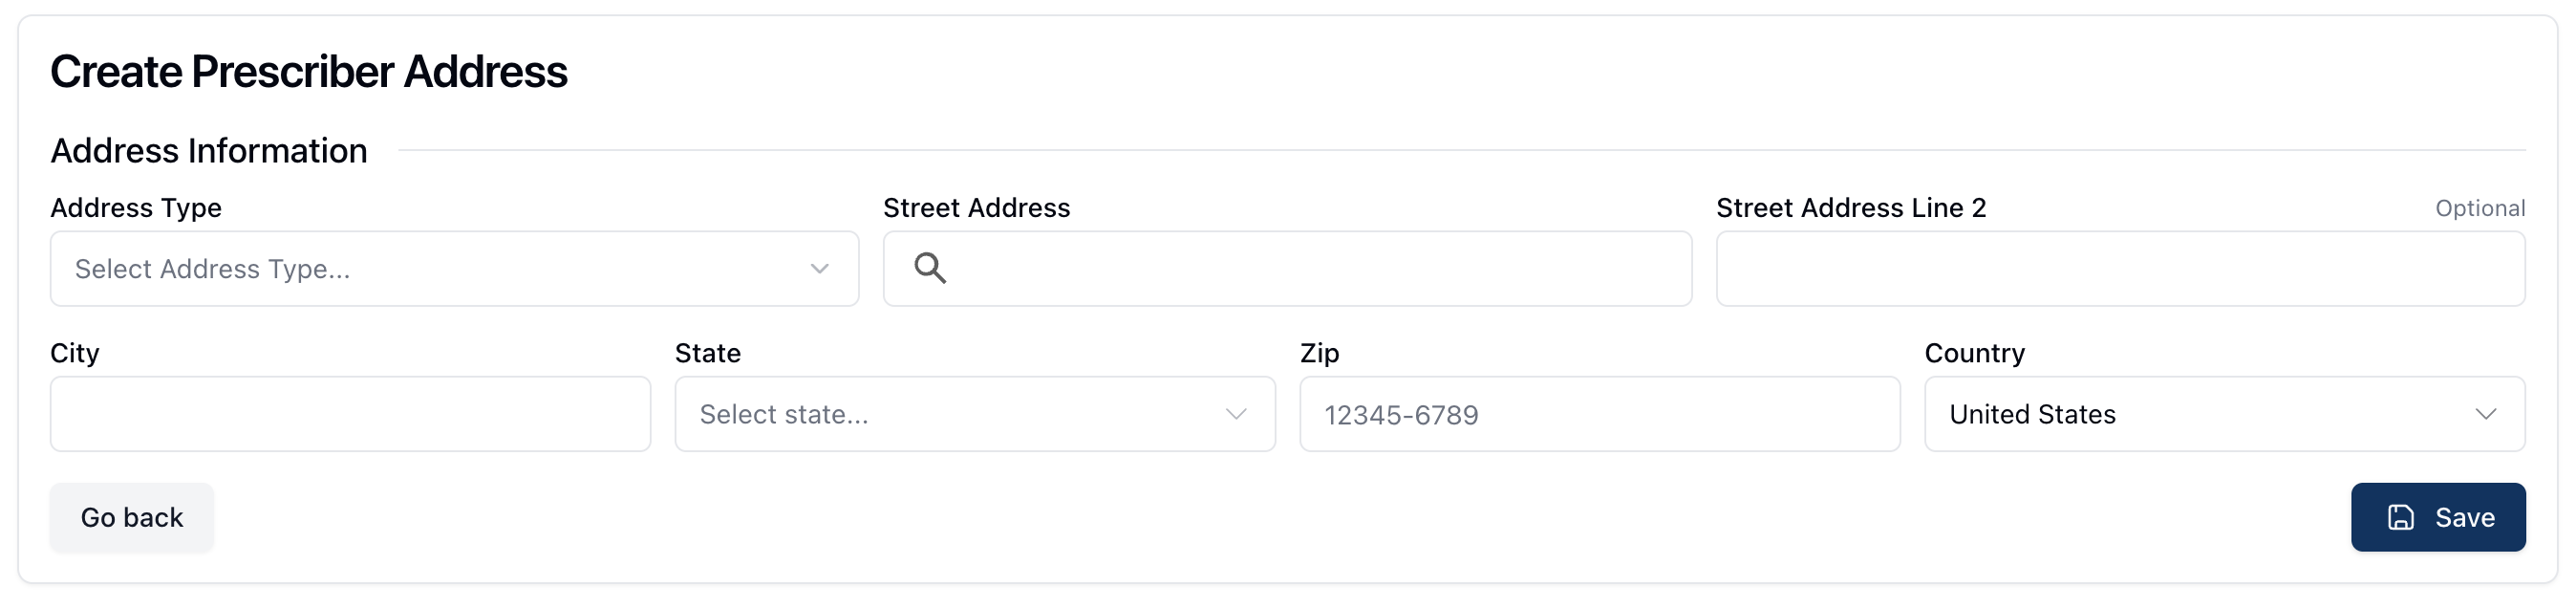 Under Create Prescriber Address, fill out the following fields:
Address Type: Select the address type from a dropdown list, including Office, Billing, Shipping, and Primary Clinic.
Street Address: Enter the related street address, which will autocomplete as you type. Once the correct address appears in the search results, select it to fill out the remaining fields.
City/State/ZIP: Enter the related city, state, and ZIP code for the address, which may be filled by the autocomplete result.
Country: Enter the relevant country for the prescriber's address.
Once all fields are complete, click the Save button to save the prescriber's address.
To edit or remove an address from a prescriber profile, click the actions menu ( ⠇) to the right of the relevant address listed in the Search Results table. Click Edit to update or make changes to the existing address. Click Delete to remove the address from the prescriber record.
Adding a new prescriber
 To add a new prescriber, navigate to Prescribers and click the \+ Add Prescriber button in the upper right corner of the page.
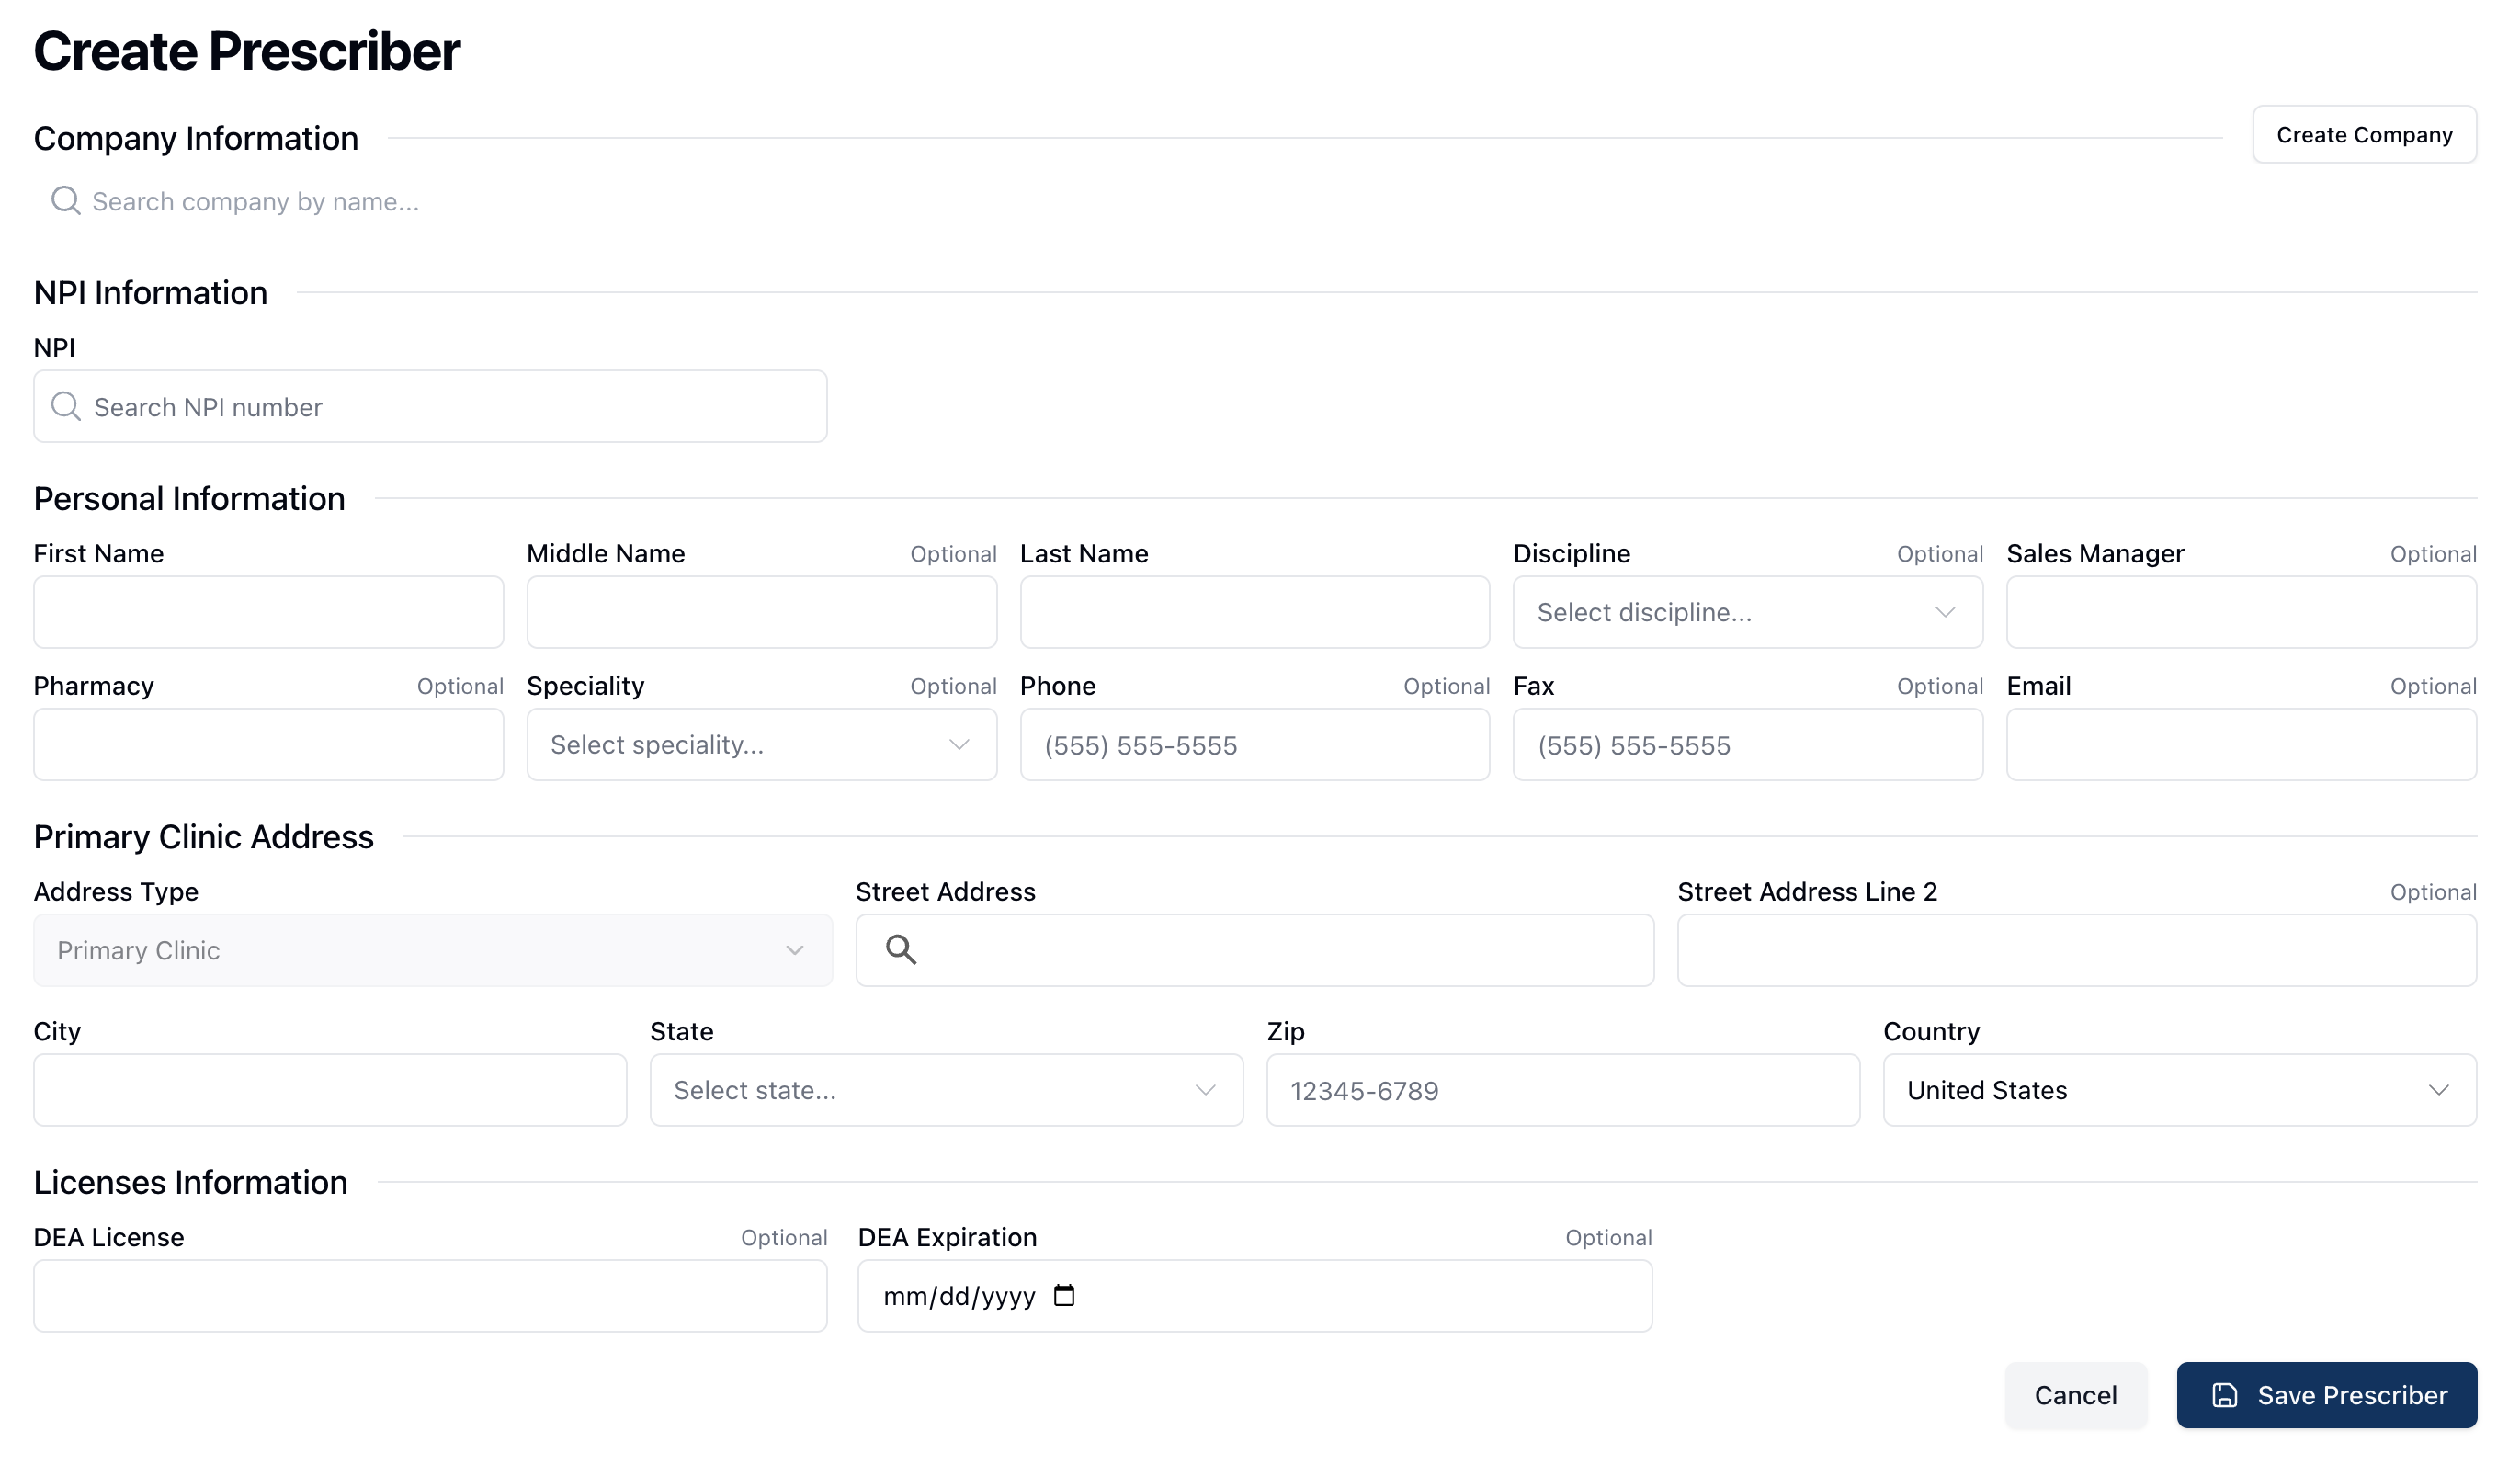 On the Create Prescriber form, enter the relevant information into the required fields. At the top of the form, under Company Information, you can search for and select the company associated with the prescriber.
Under NPI Information, enter the prescriber’s 10-digit NPI number into the search field below NPI. The search results automatically update to display the related information associated with the NPI entered. When the appropriate prescriber appears, select the record from the displayed search results.
After entering the related company and NPI number, verify, edit, or enter the relevant information into the Personal Information and Contact Information sections. These sections include the provider's information, such as their name, discipline, specialty, and relevant pharmacy information. Contact information includes a relevant phone number, fax number, and/or email address.
Under Primary Clinic Address, enter the address for the prescriber's primary place of practice. Lastly, under Licenses Information, enter the related DEA license number and expiration date.
 Once all required fields are complete, click Save Prescriber to save this prescriber to the database.