Patient records
Within the Patients section, you can view, modify, and manage individual patient records. This guide provides an overview of the information and actions available via these pages.
 To access a patient record, click the underlined link in the Patient ID column.
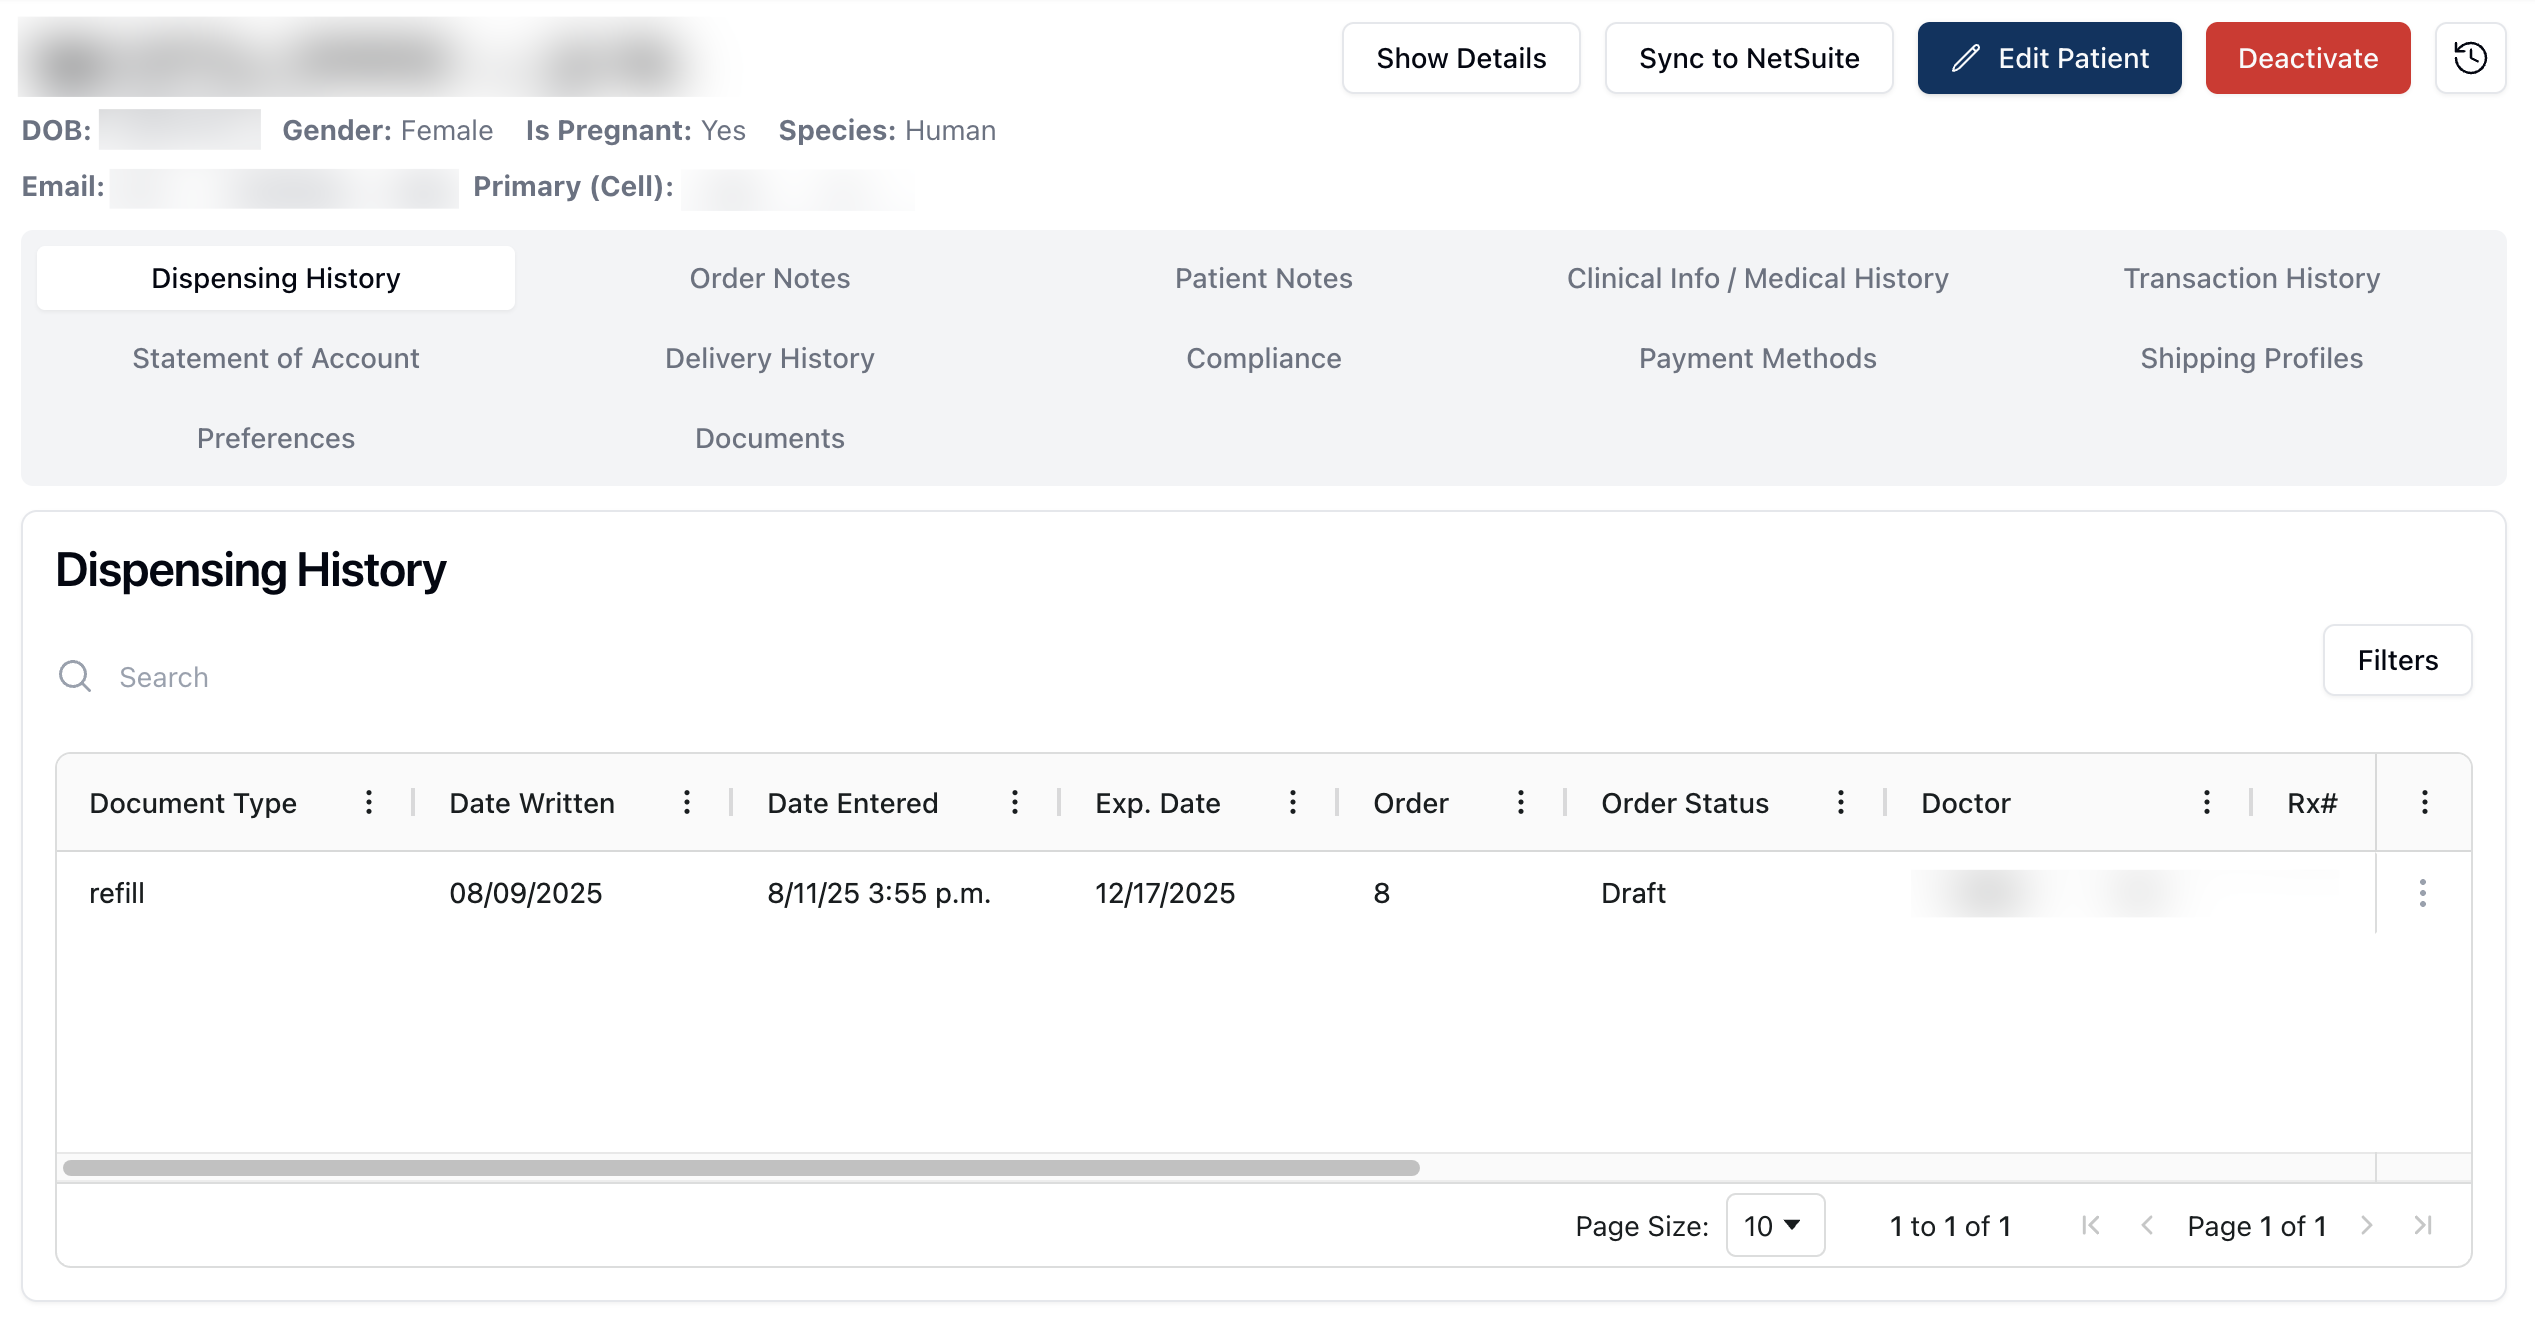
Patient records display the patient's basic information at the top of the page. This includes information related to the patient's name, date of birth (DOB), Gender, Is Pregnant status, Species, and basic contact information.
Patients with an allergy added to their record display a Mild, Moderate, or Severe Allergy badge next to their name. Allergy information is color-coded according to the reported severity.
Certain patients may also be flagged as a specific patient type or status. The basic information for these patients appears in a different color and includes a badge at the top of the page. Patient types and statuses include:
Pediatric | The pediatric badge applies to all patients under the age of 18. Basic information for pediatric patients appears with a purple background and a badge to indicate the patient status. (To do: Are there any other warnings/information required here?) |
Veterinary | The veterinary badge applies to all non-human patients. (To do: Add color information.) |
Deceased | The deceased badge applies to all patients who have been marked as deceased. (To do: Add color information.) |
To the right of the patient's basic information, the following buttons appear:
Sync to NetSuite (To do: This will likely be removed)
Note that several tabs are available below the patient's basic information to manage, edit, and view additional patient-related records and details. By default, the patient record loads the Dispensing History tab.
Show details
 The Show Details button on the patient record displays additional information about the patient. This includes:
Patient ID | The patient ID is the ID number automatically assigned to the patient when added into the database. |
Shipping Address | The preferred address to which the patient's prescriptions should be shipped. (To do: Confirm "Preferred address.") |
Residential Address | The patient's residential address. |
Ethnicity | The patient's ethnicity, if provided. |
Weight | The patient's weight, in kilograms. |
Height | The patient's height, in centimeters. |
Secondary (Home) | The patient's home phone number. |
Secondary (Work) | The patient's work phone number. |
Military ID | The patient's military ID number, if applicable. |
Treatment Coordinator | The patient's relevant treatment coordinator, selected from a dropdown menu. |
Created | The date the patient record was created. |
Last Updated | The date the patient record was last updated. |
Sync to NetSuite
(To do: This will likely be removed.)
Edit Patient
 You can make changes to a patient's record by clicking the Edit Patient button. Clicking this button loads the Edit Patient form, which allows you to modify any information added via the Create Patient form.
You can change or revise the patient's information by clicking directly on the related text box and editing the existing content. Once complete, click the Save Patient button. If no updates are needed, click the Cancel button to return to the initial patient page.
Note that the Activity Log tracks and displays any changes made to a patient record. (To do: Is there anything else we should note here?)
Deactivate
 You can deactivate a patient record by clicking the red Deactivate button in the upper right corner of the page.
Clicking this button results in a popup asking you to confirm that you would like to deactivate this patient record. To continue with the deactivation, click the red Deactivate button. Otherwise, click Cancel to return to the previous page.
Once you confirm the deactivation, a widget appears in the lower right corner of the page confirming the action. (To do: Is this added to the activity log?)
When viewing a deactivated patient record, a Reactivate button appears in the upper right corner instead. Click this button to open the confirmation dialogue for reactivating a patient profile.
Activity Log
 You can view the system Activity Log by clicking on the clock icon in the upper right corner of the page.
For more information about the activity log, visit Activity Log. (To do: Write Activity Log documentation.)