Tutorial: Adding a new patient
This guide provides a walkthrough of adding a new patient to the system.
Looking for a shorter overview? Visit the how-to guide instead.
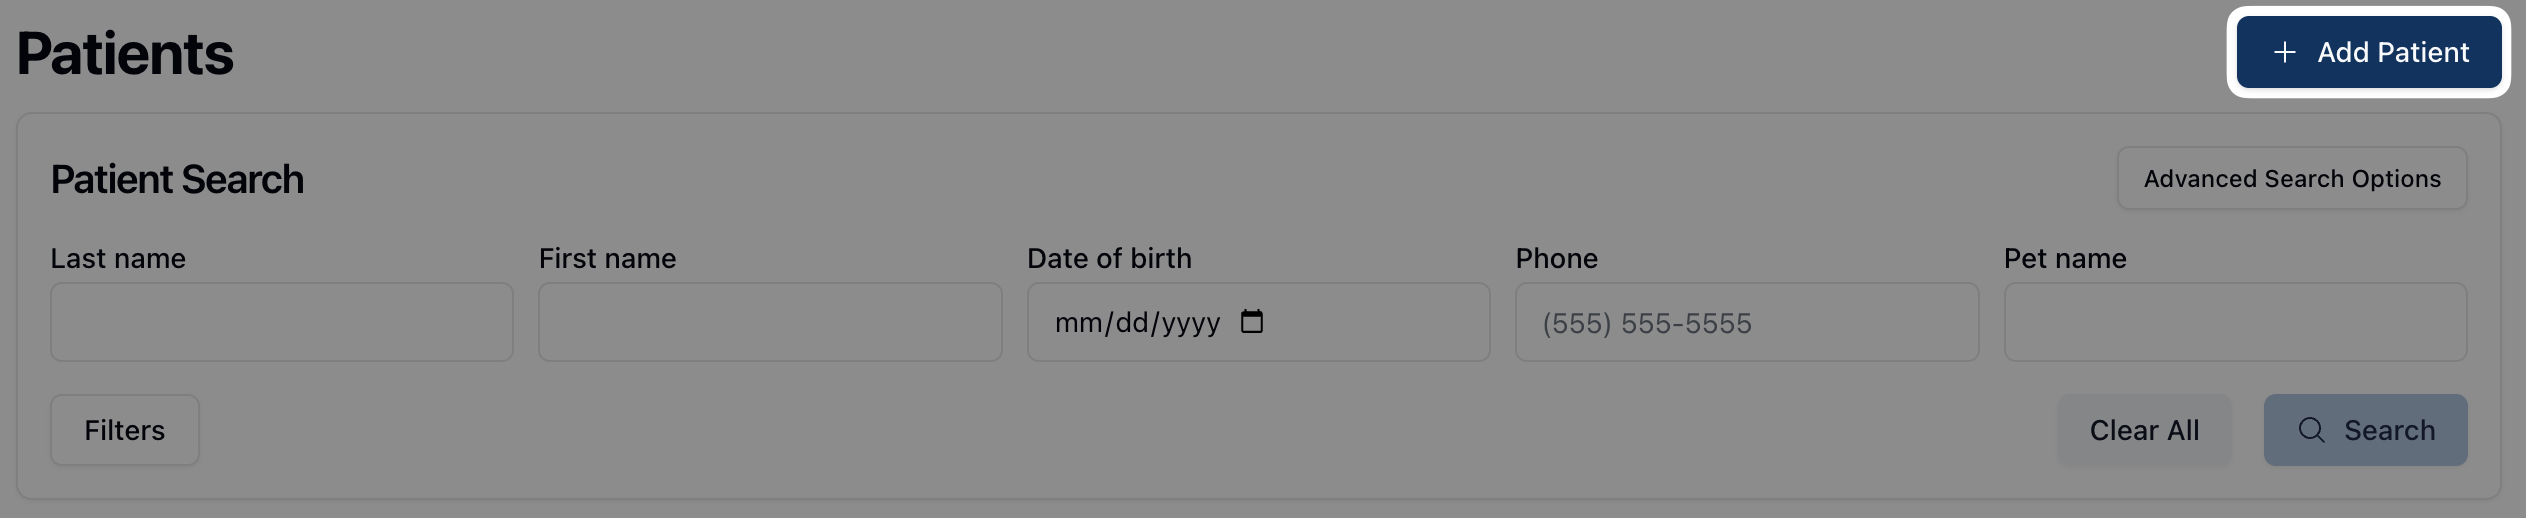 To add a new patient record, navigate to the Patients page. Then, click the Add Patient button in the upper right corner to navigate to the Create patient form.
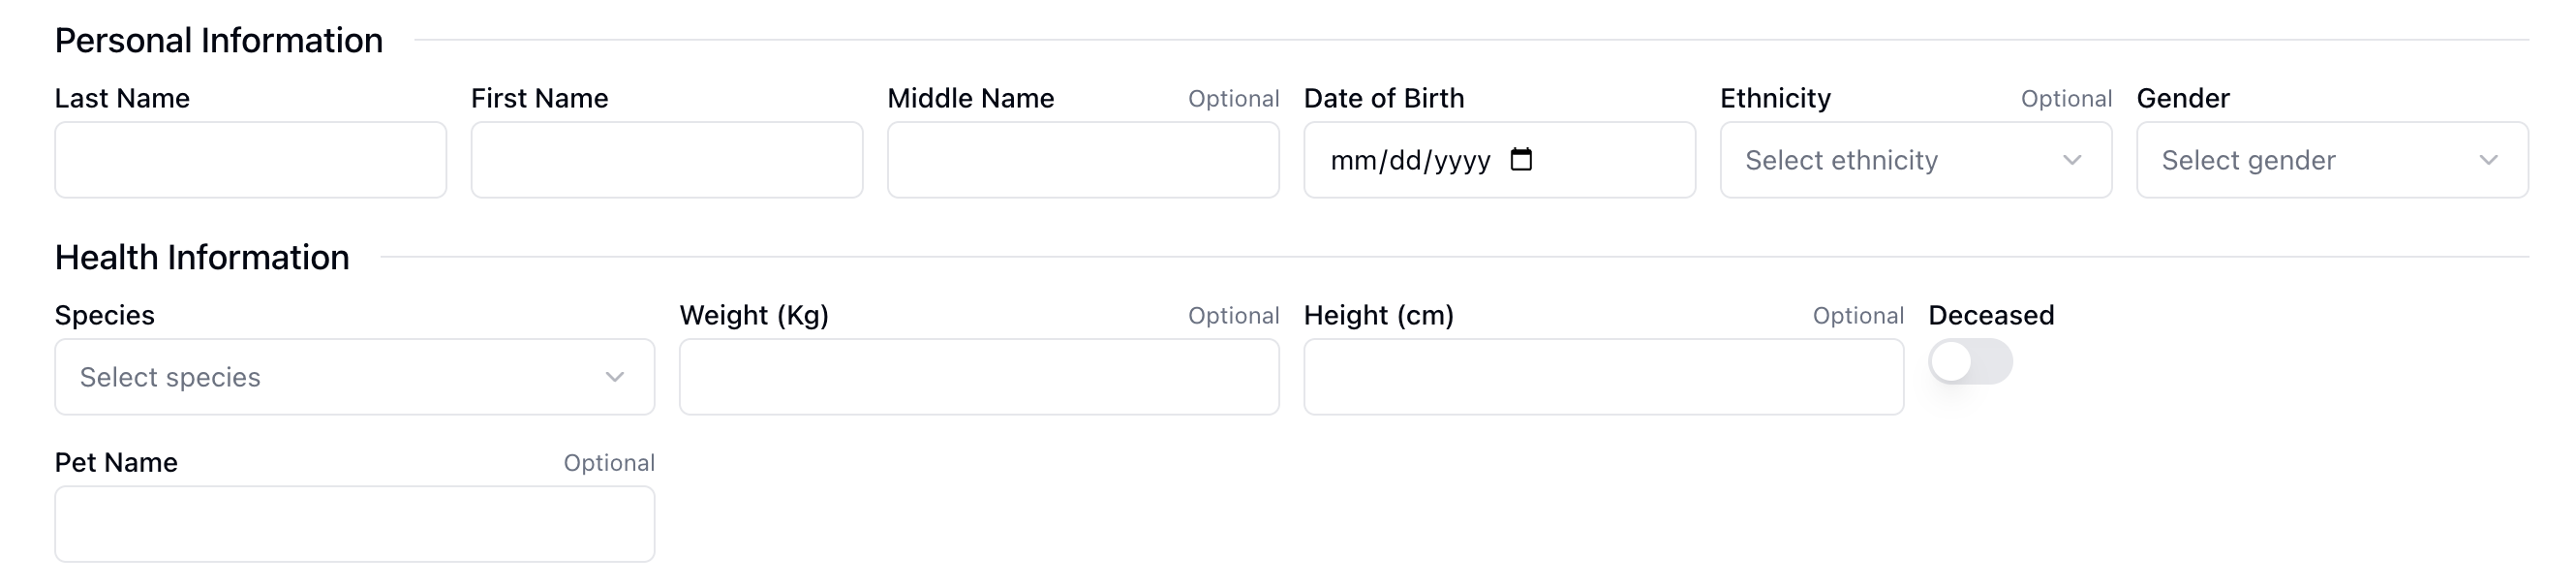 All fields on the Create patient form are required, unless otherwise noted. At the top of the form, you can enter the patient's personal and health information, including items like name, date of birth, and species.
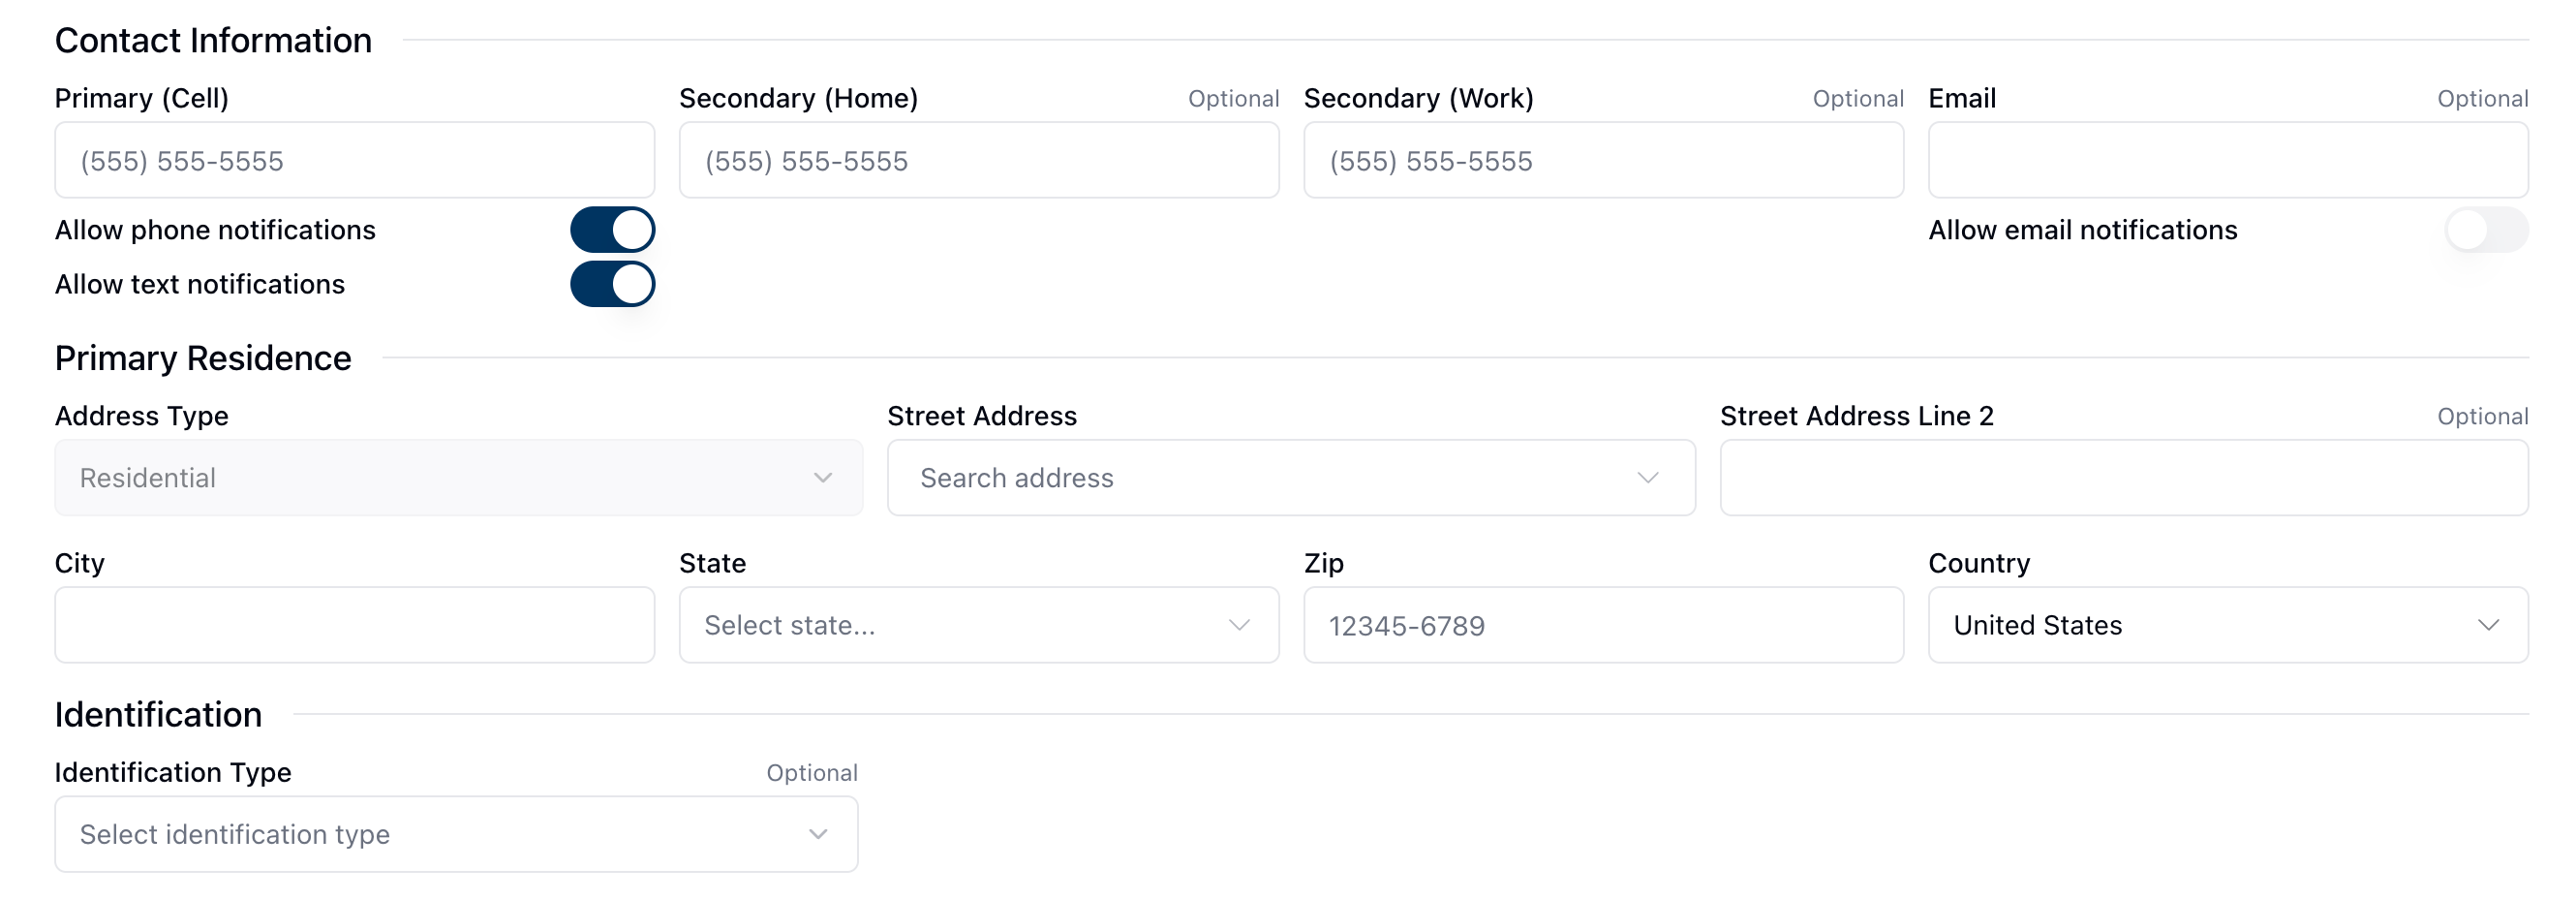 The Contact Information section accepts multiple methods of contact for the patient, including their primary phone number and email. You can also turn phone and text notifications on or off by toggling the buttons next to Allow phone notifications and Allow text notifications. These settings allow patients to opt-in or out of receiving updates via the contact method(s) provided.
This section also includes both required and optional fields for the patients primary residence and identification.
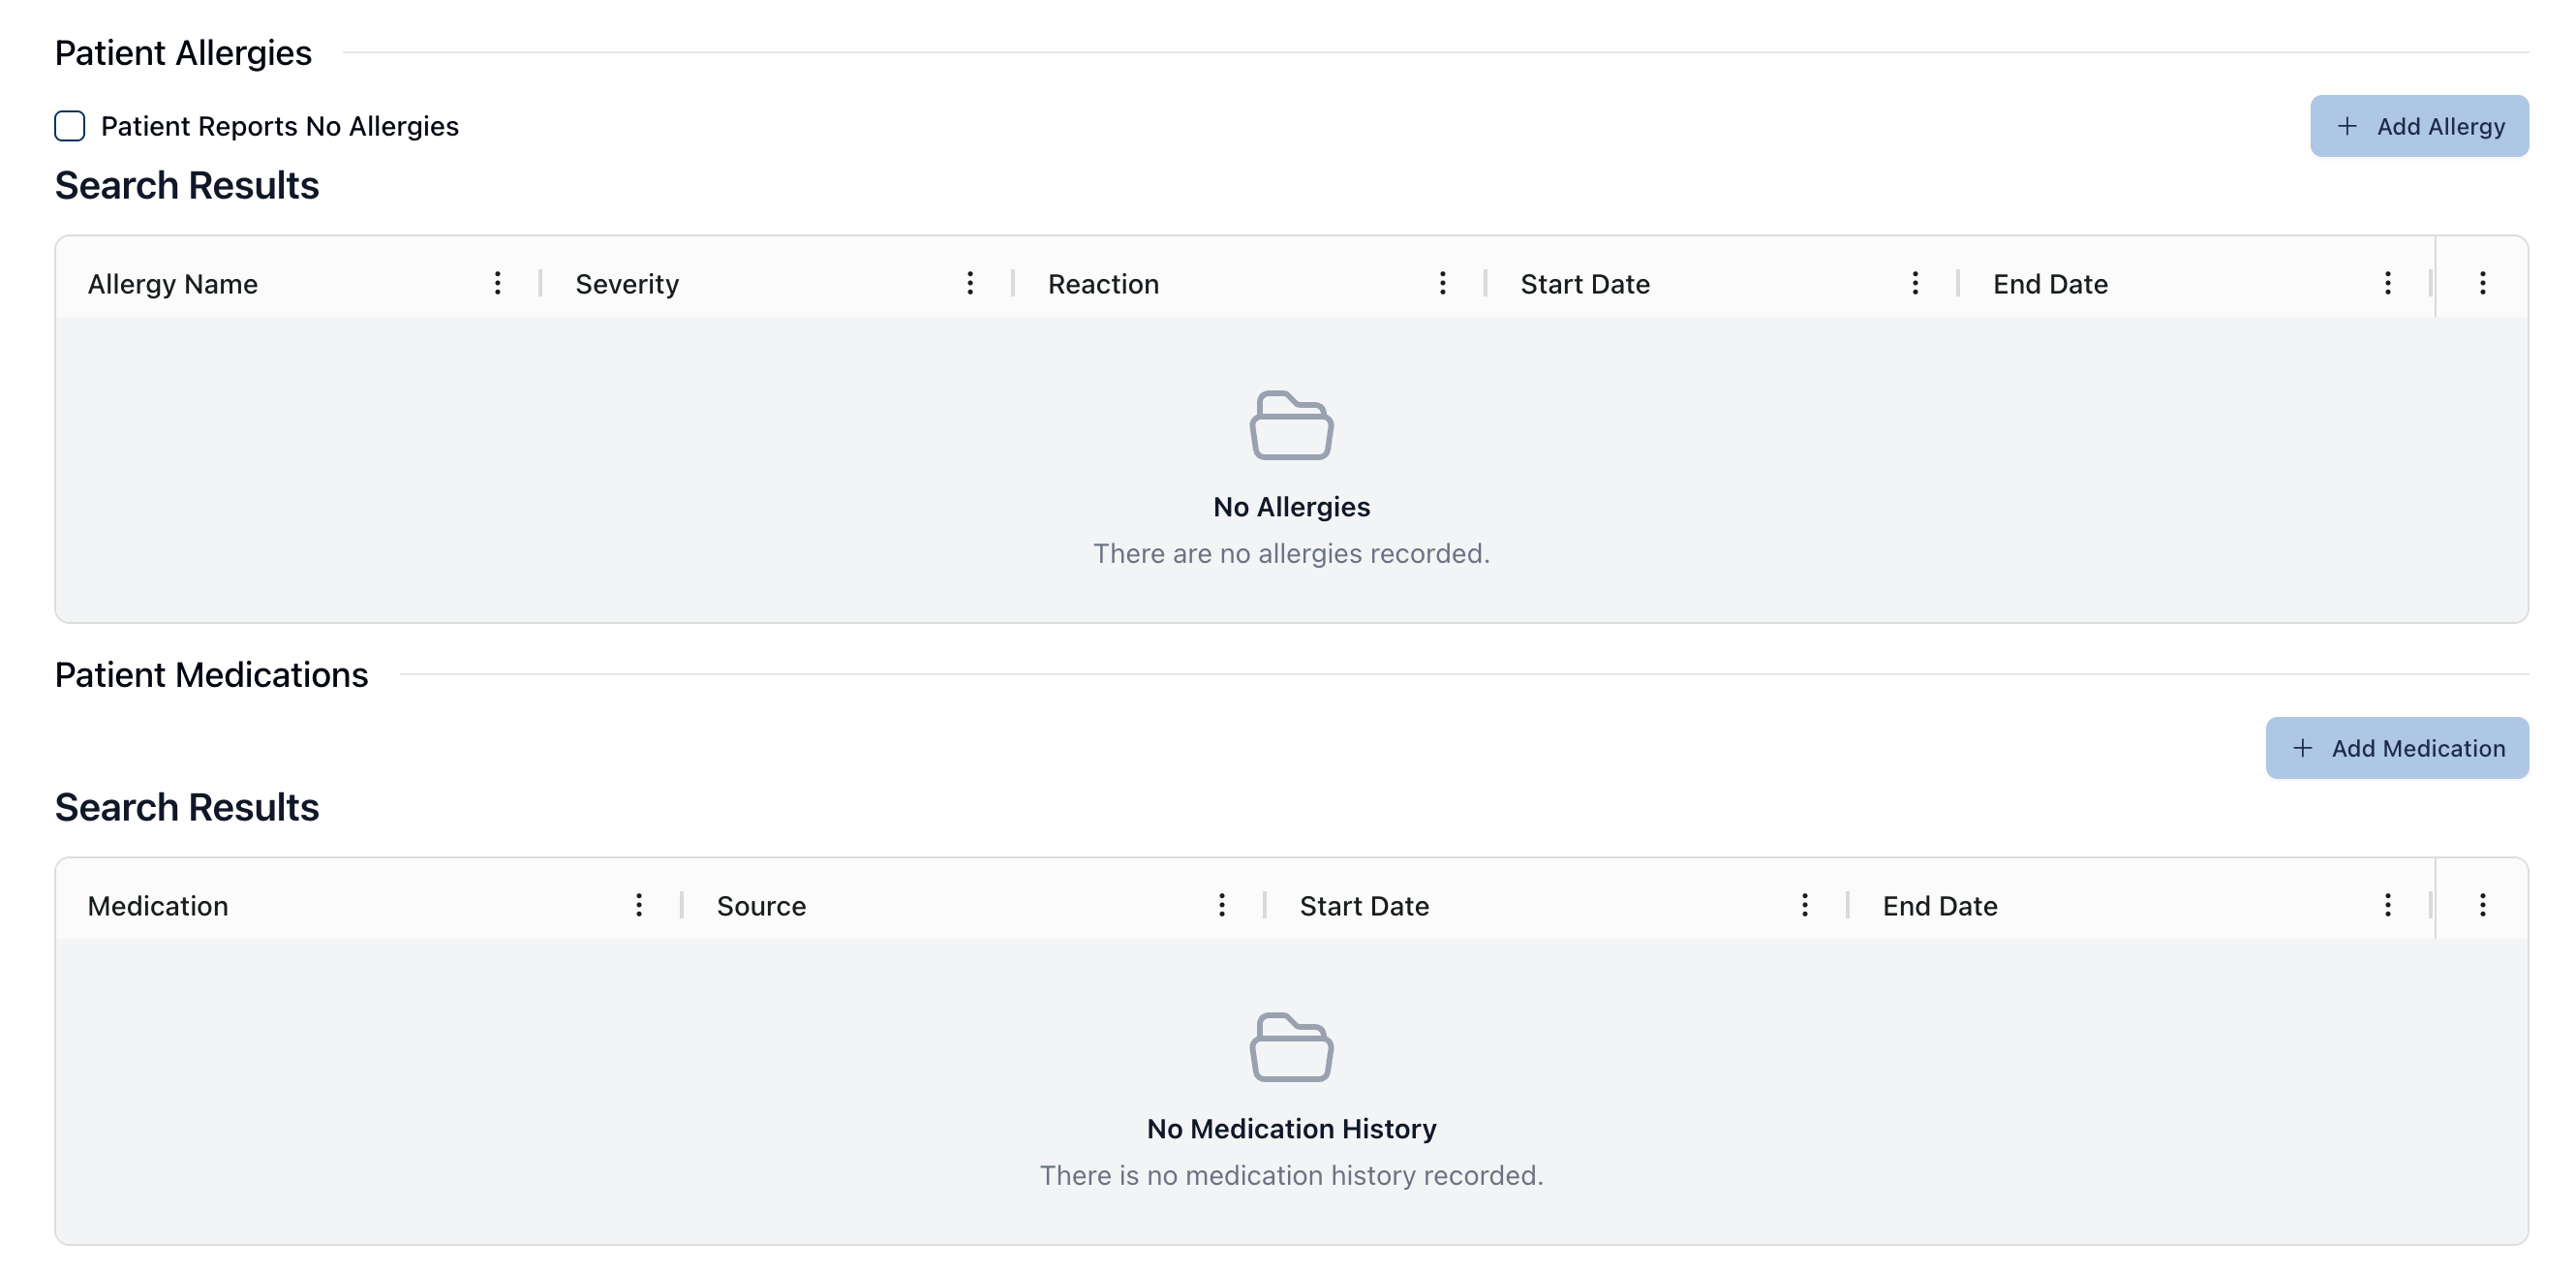 To add an allergy to the patient's record, click the + Add Allergy button, following the steps outlined in Adding a patient allergy.
Likewise, you can add a medication to the patient's record by clicking the + Add Medication button and following the steps outlined in Adding a patient medication.
Once added, the related tables display any patient allergies and/or medications, which you can then edit or modify using the actions menu ( ⠇).
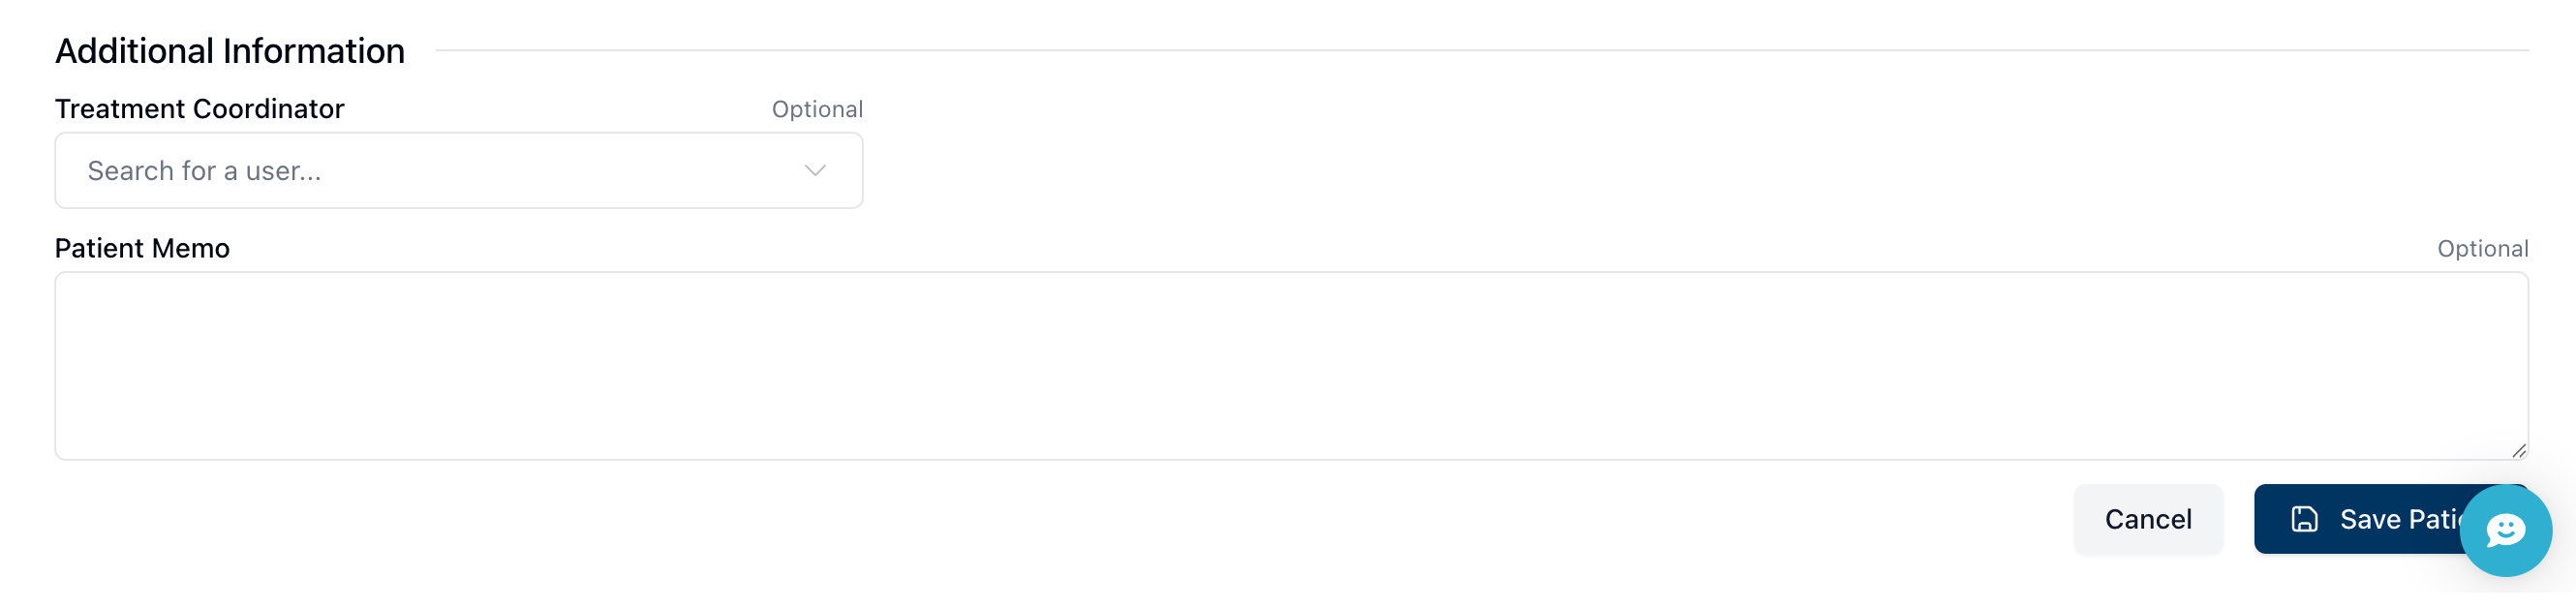 At the very bottom of the form are two optional fields: Treatment Coordinator and Patient Memo. These fields retain information about the patient's treatment team and any other relevant information you may wish to add to the profile.
Once all fields are complete, click the Save Patient button to save the patient record.
(To do: Verify compliance for patient data, like adding HIPPA information, or if this is handled exclusively at the pharmacy level.)